Register Contensis with Azure AD
Log in to add to favouritesPage last updated 19 February 2025
Overview
Note: this article applies to app registrations created after October 2021(see this link for further details on Azure AD changes).
To be able to register Contensis CMS with Azure, you will first need to complete the following actions on Azure:
- Register a new application for each CMS instance
Register new applications for each Contensis CMS instance that will be integrated with Azure. For example, if you have a live and development instance you will need to register two applications, one for the live CMS url and one for the development CMS url. - Update the application manifest
Allows group integration and adds the application id url. - Update permissions
Allows user integration. - Obtain relevant federation data for the CMS
Obtaining credentials and discovery document data that is required to allow the Zengenti identity provider to federate with your registered Azure application.
Registering a new application
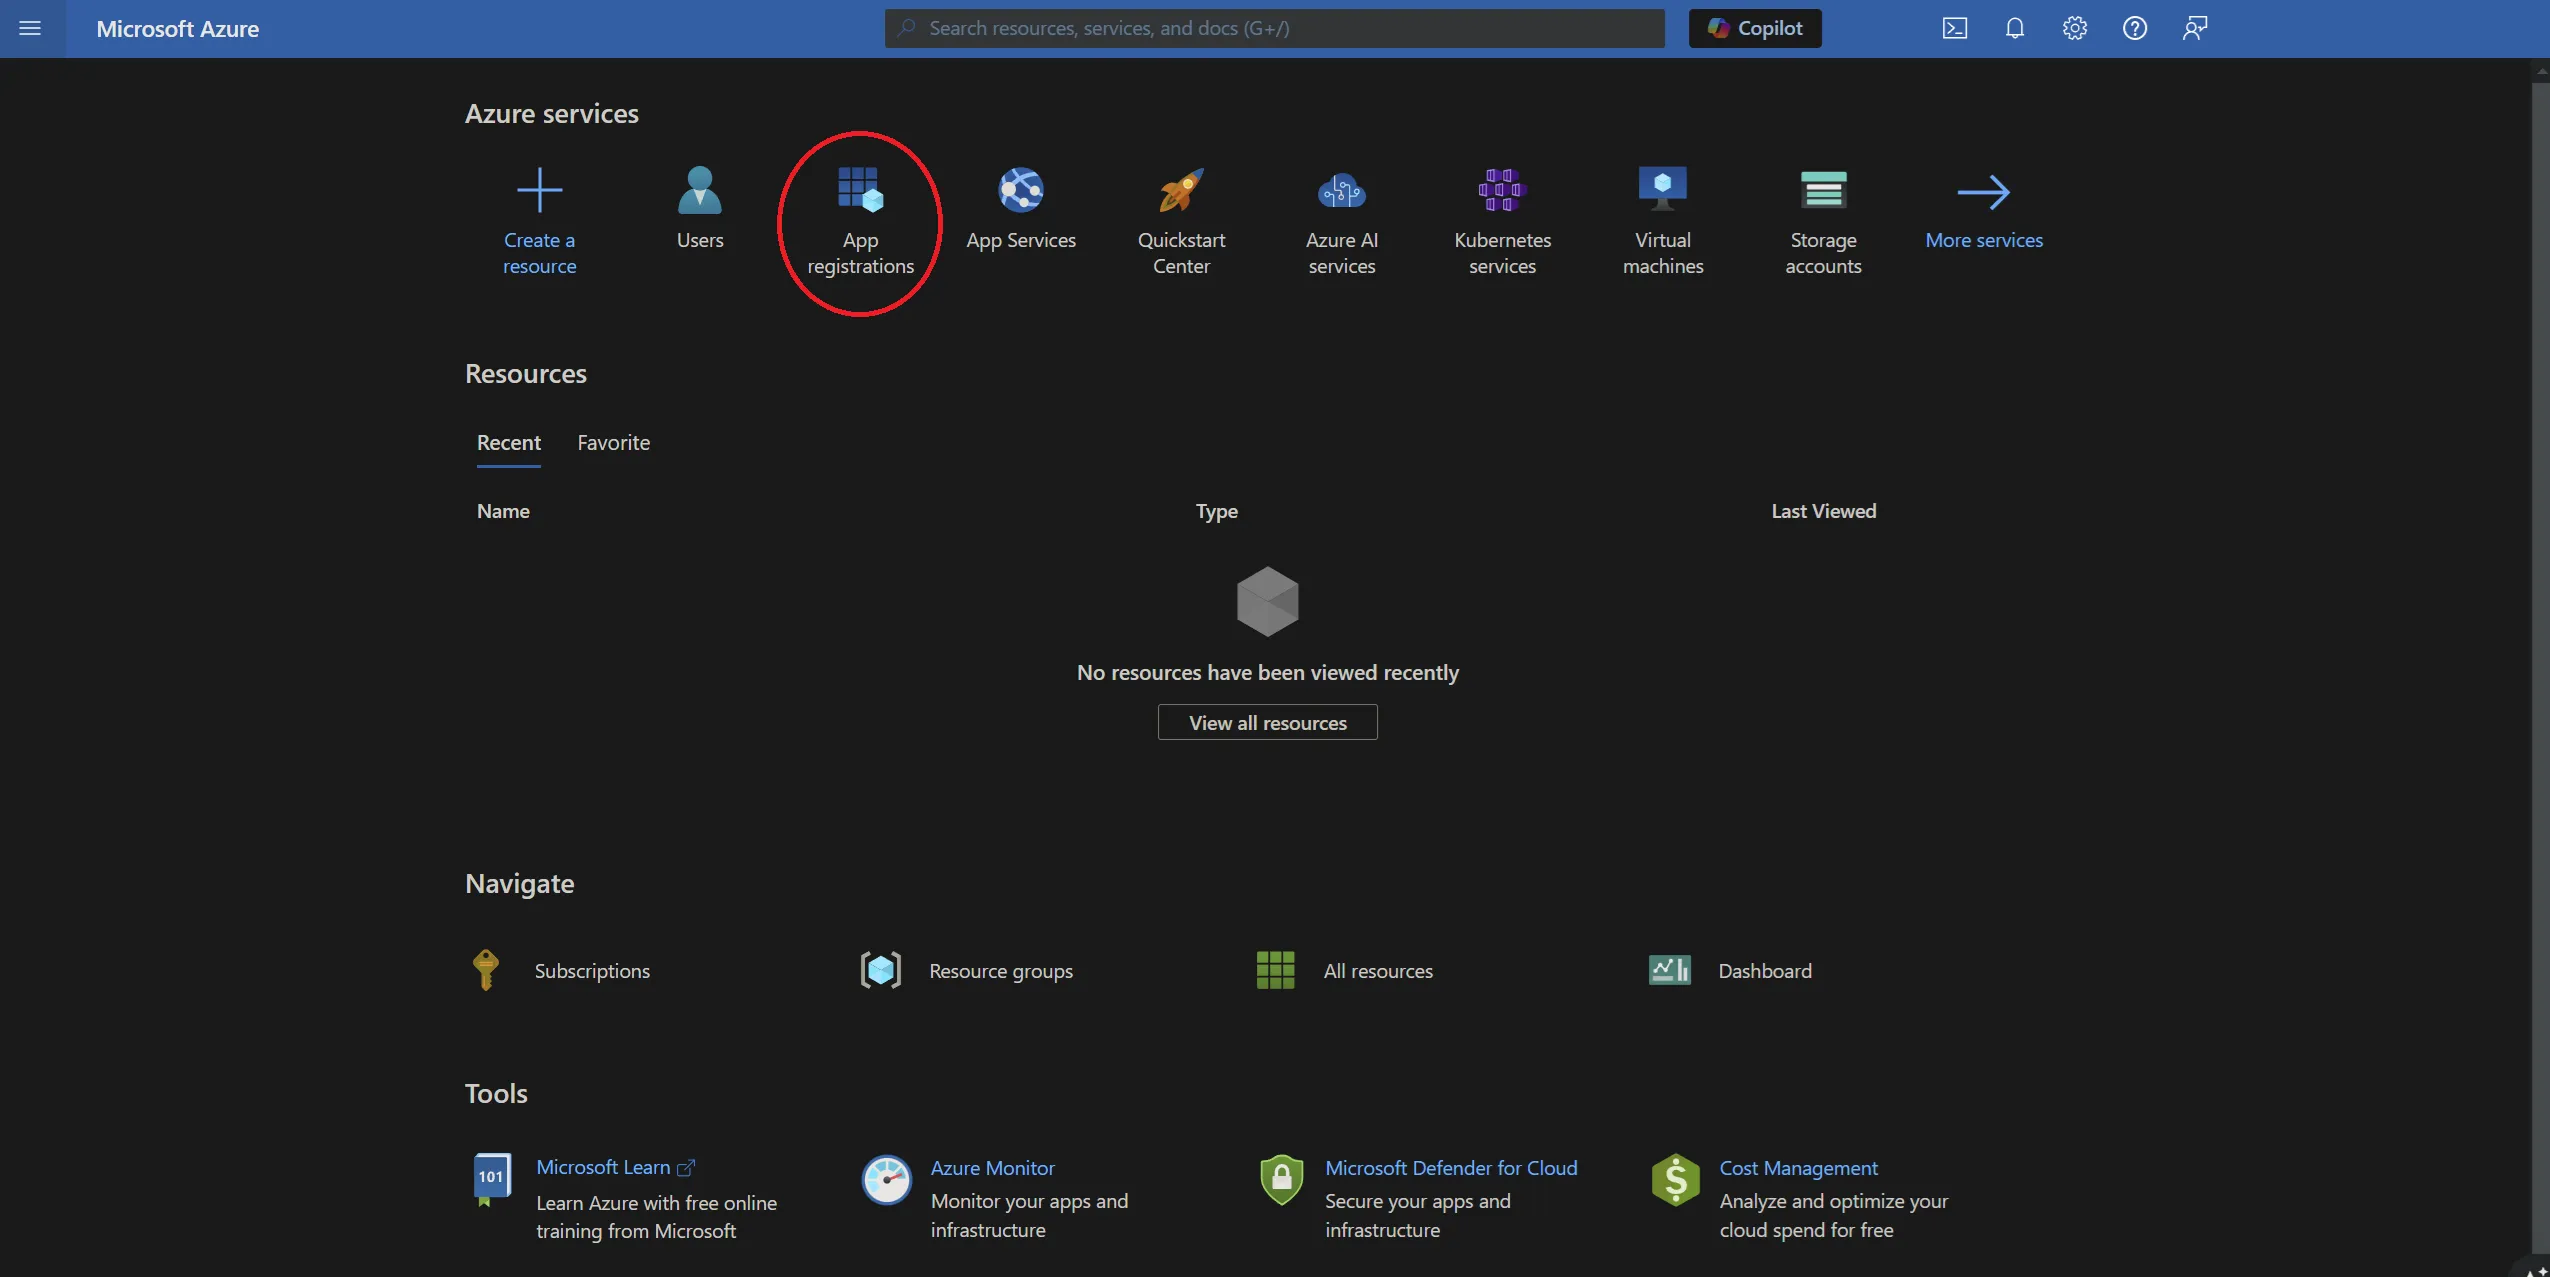
Go to the Azure portal and click ‘App registrations’.
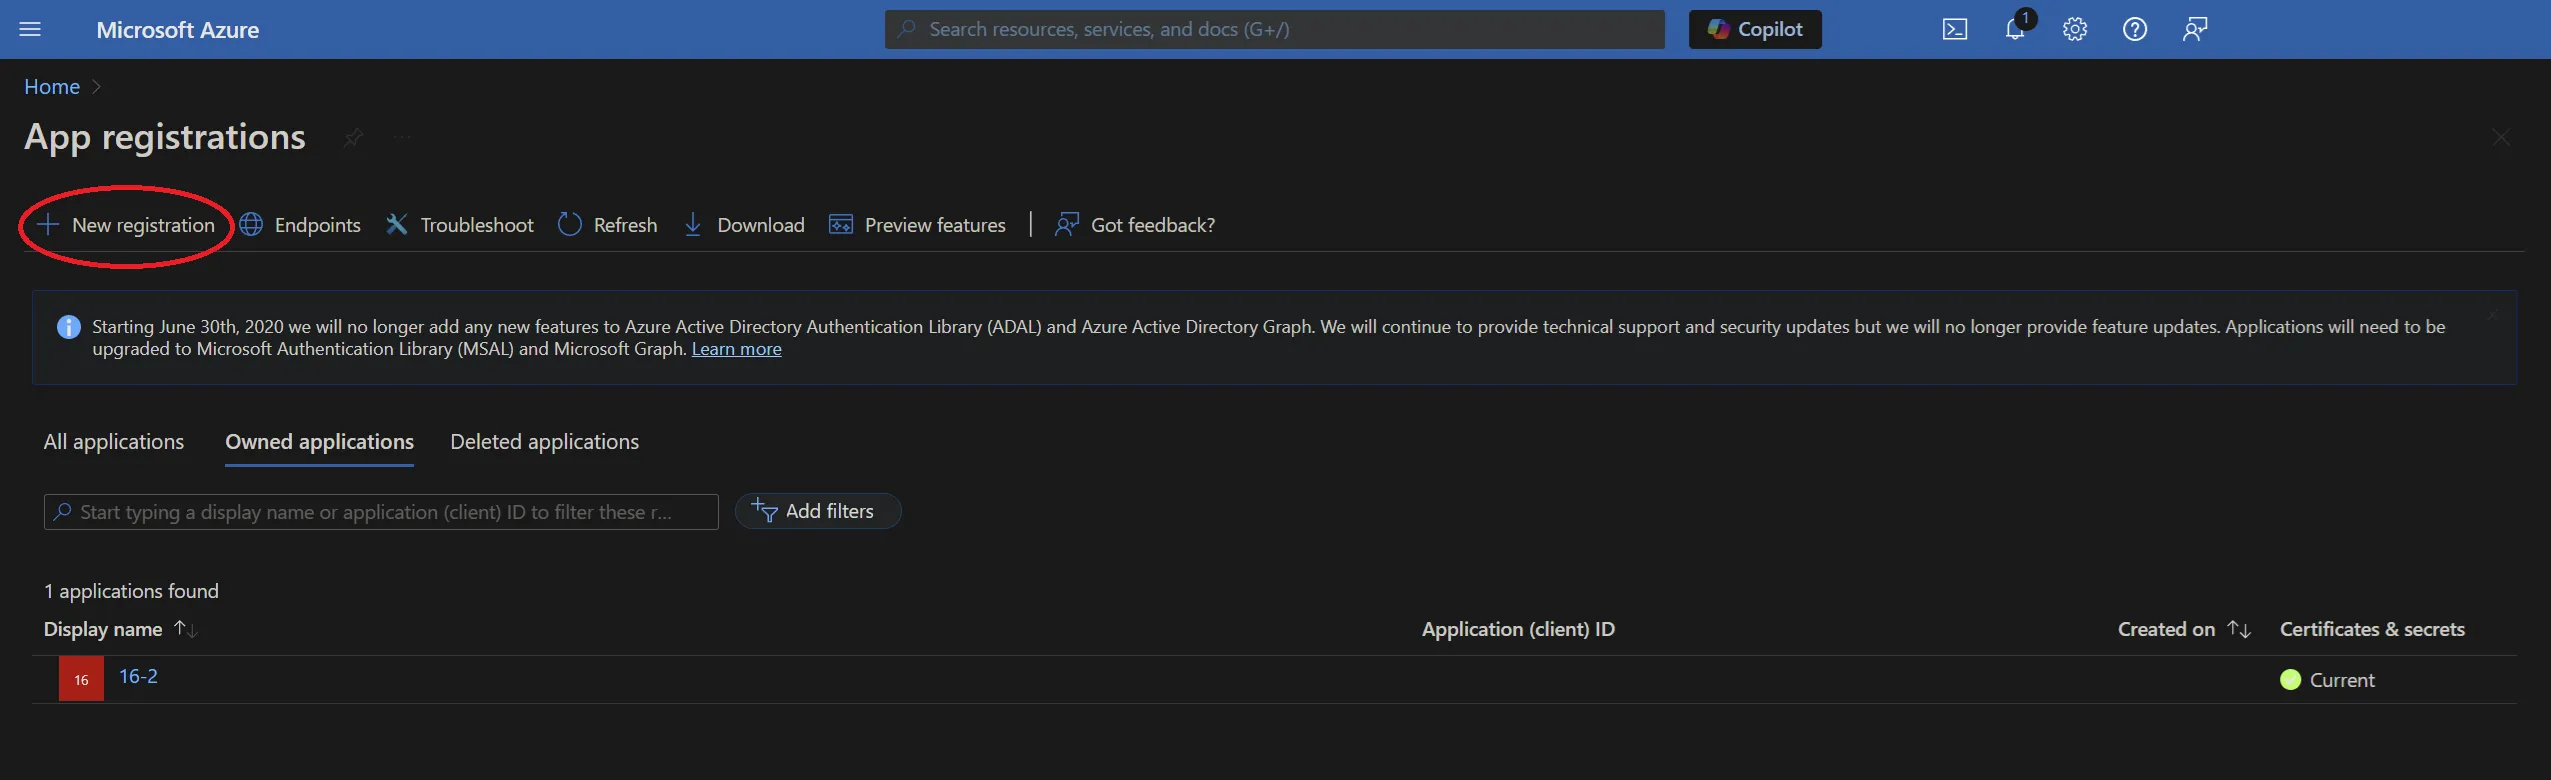
You now have the option to add a new registration.
Click ‘+ New registration’ in the toolbar.
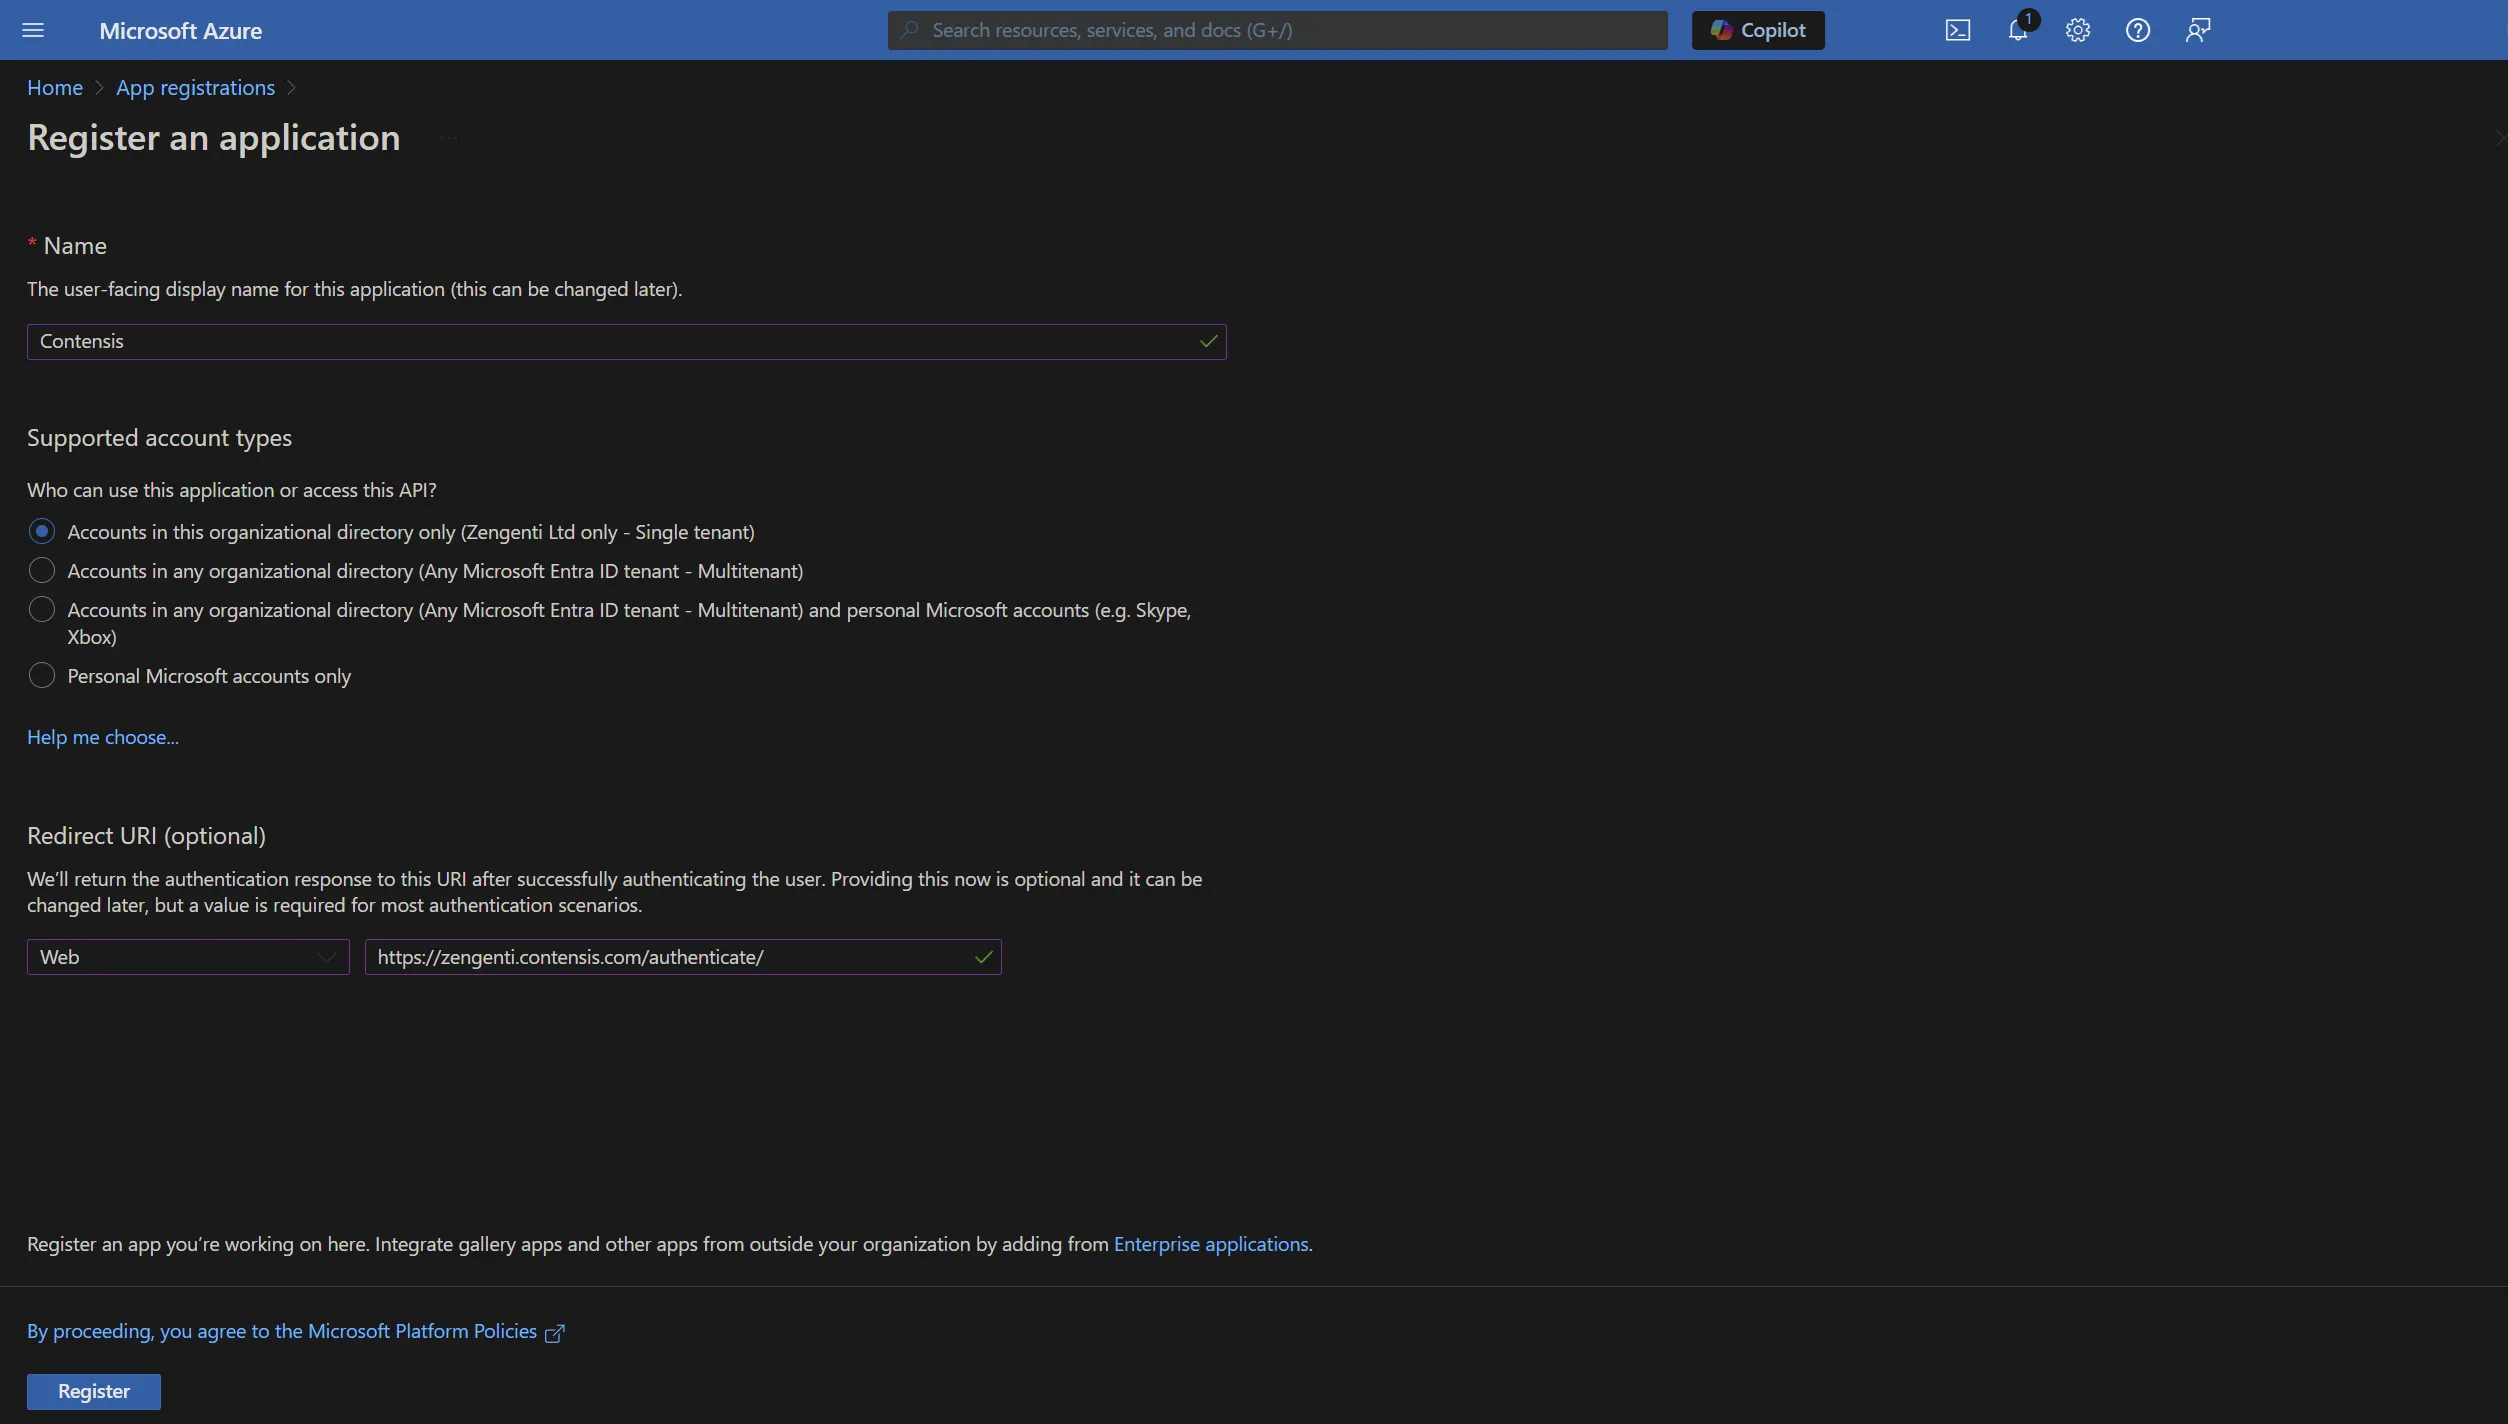
You’ll be presented with a form allowing you to enter initial application registration information.
Name
This is the display name for the registration in your Azure portal, and can be anything of your choosing.
Supported Account Types
This defines the types of accounts the application grants permissions to.
Redirect URI
This is not optional and is a requirement for the Zengenti identity provider. It should be entered in the following format:
https://<your cms domain>/authenticate/
After completion, the form should look similar to the following:
Click ‘Register’. The application is now registered.
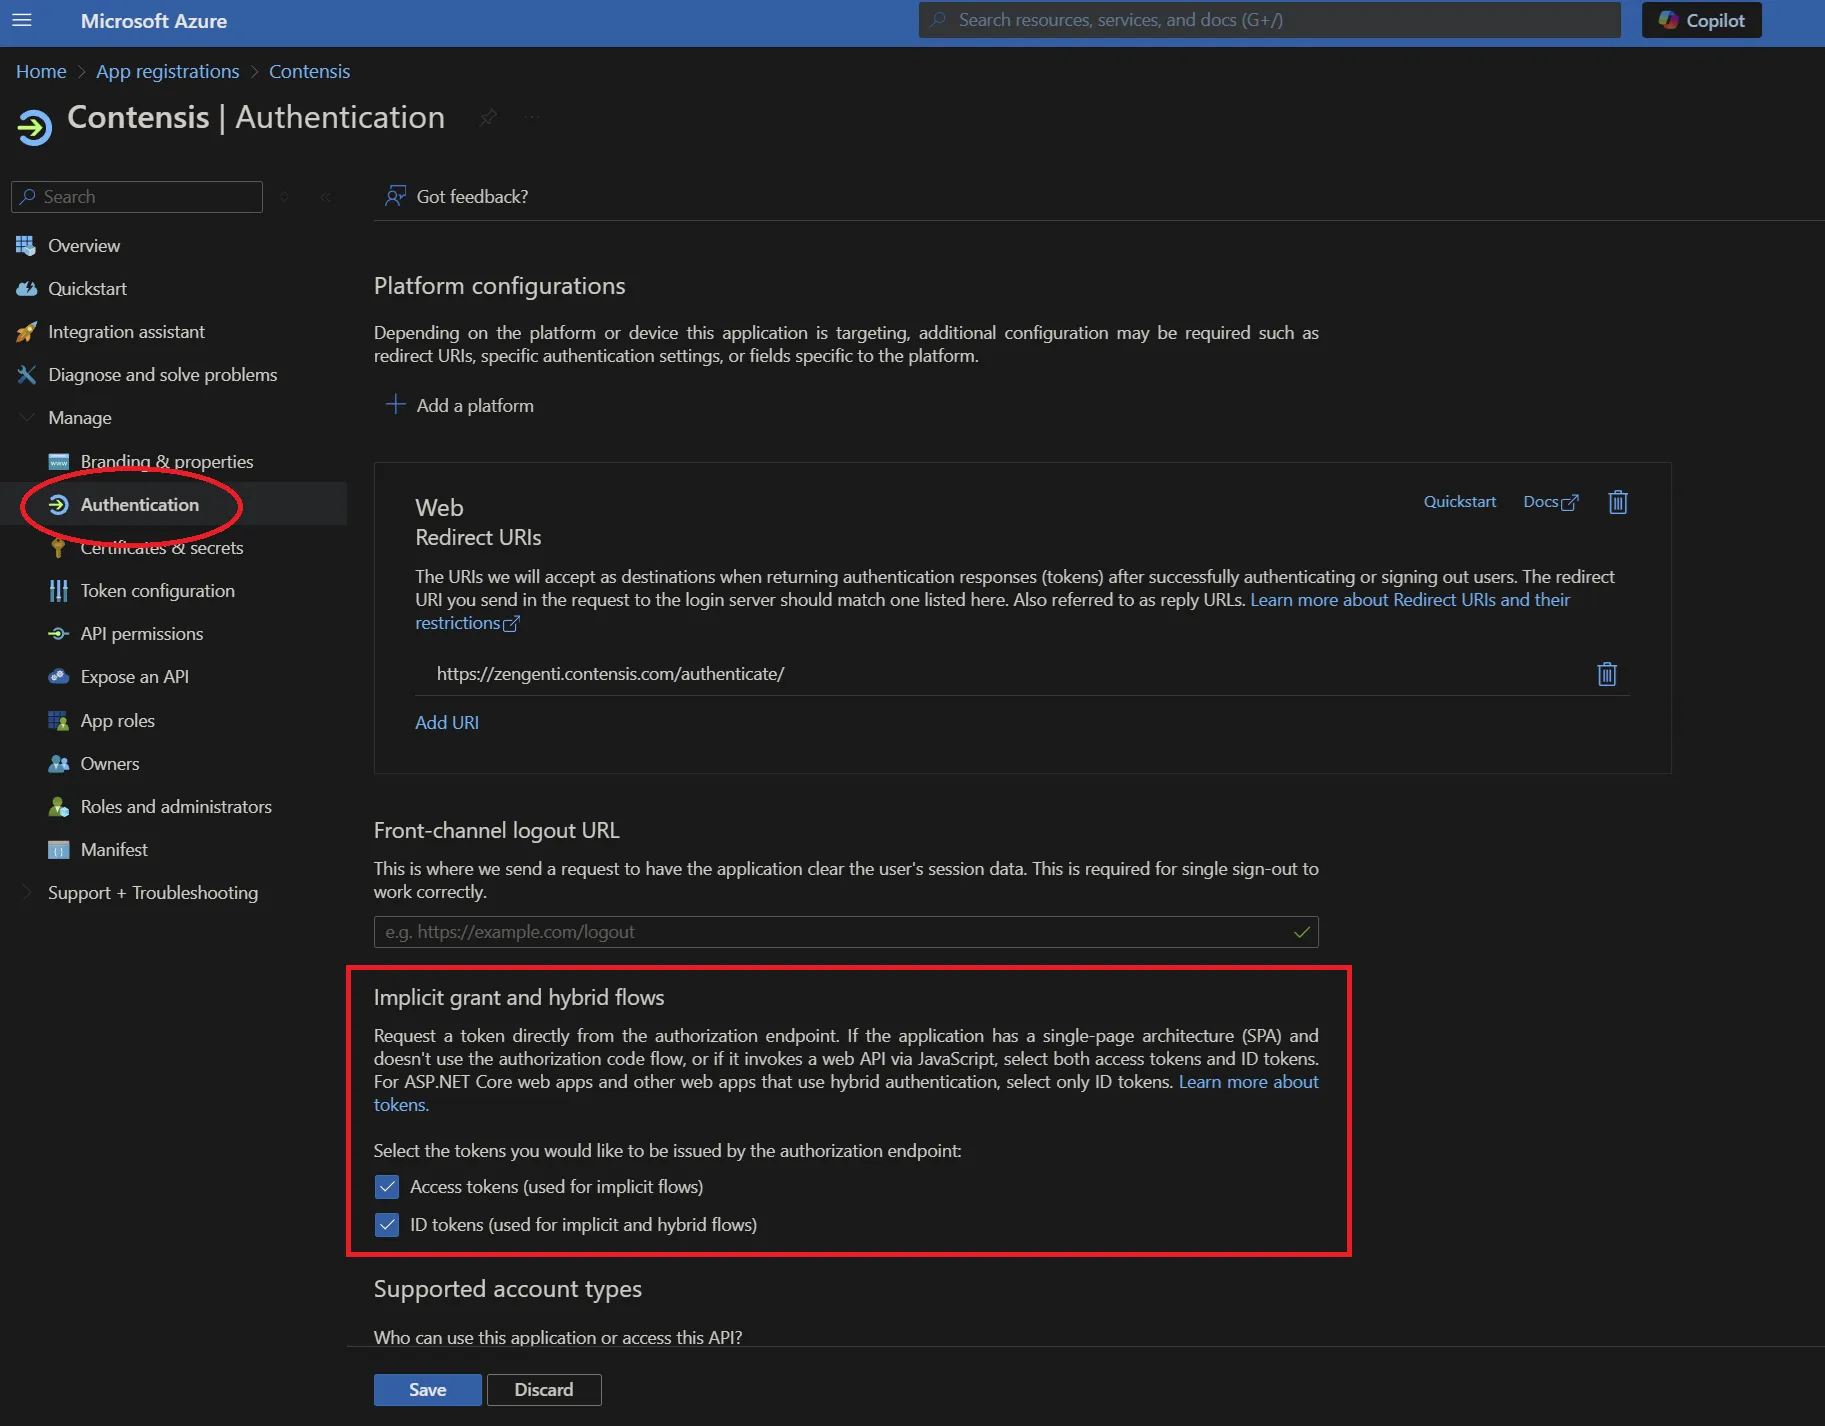
Update authentication options
The application needs to be updated to include additional authentication options.
Click ‘Authentication’ from the application overview and ensure 'Access tokens' and 'ID tokens' are selected in the Implicit grant and hybrid flows section:
Update the application manifest
To allow the Zengenti identity provider to be able to identify itself, and process a user’s group membership, the application manifest must now be amended.
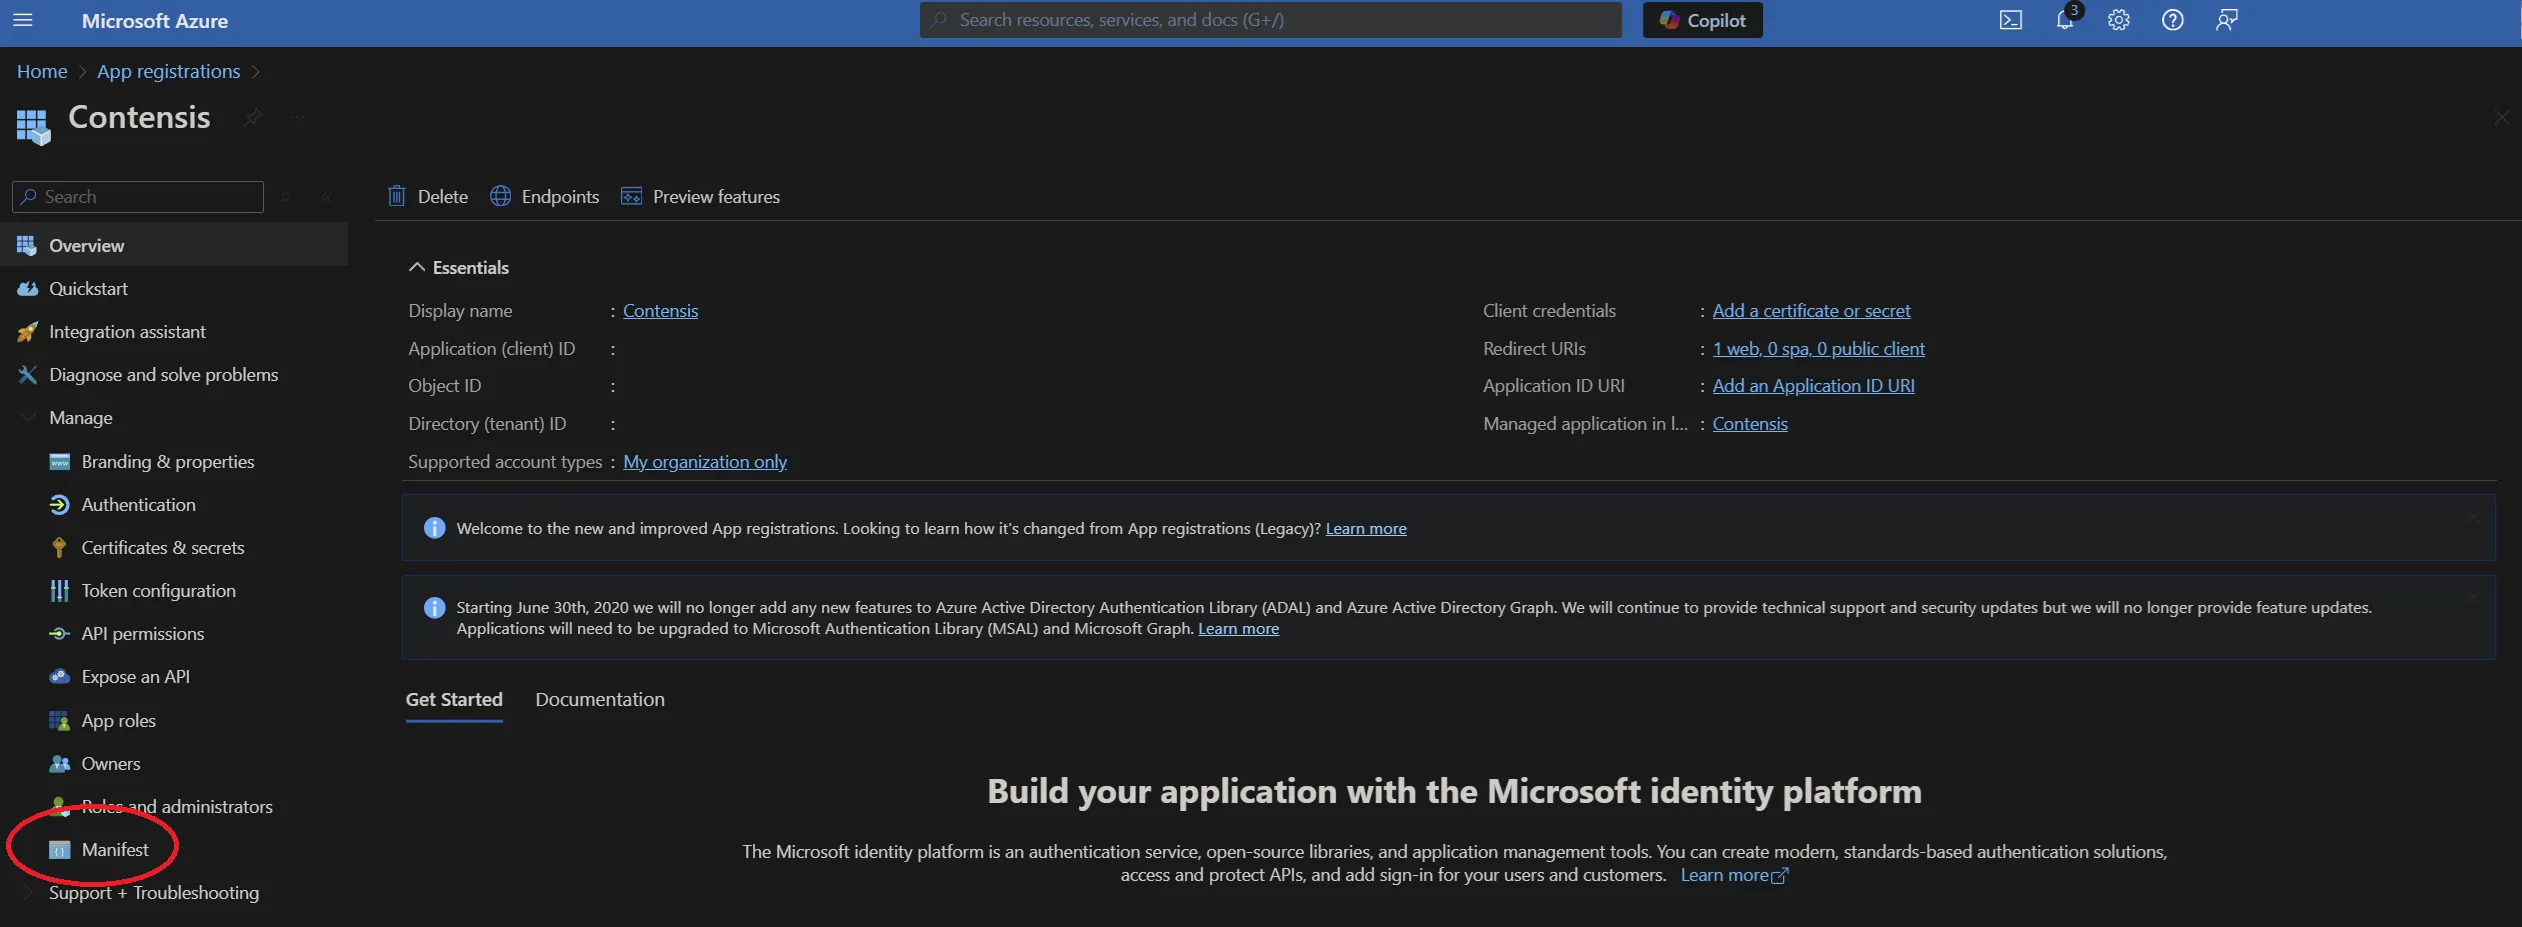
Click ‘Manifest’ from the application overview:
Update the ‘groupMembershipClaims’ value to ‘SecurityGroup’.
Click ‘Save’.
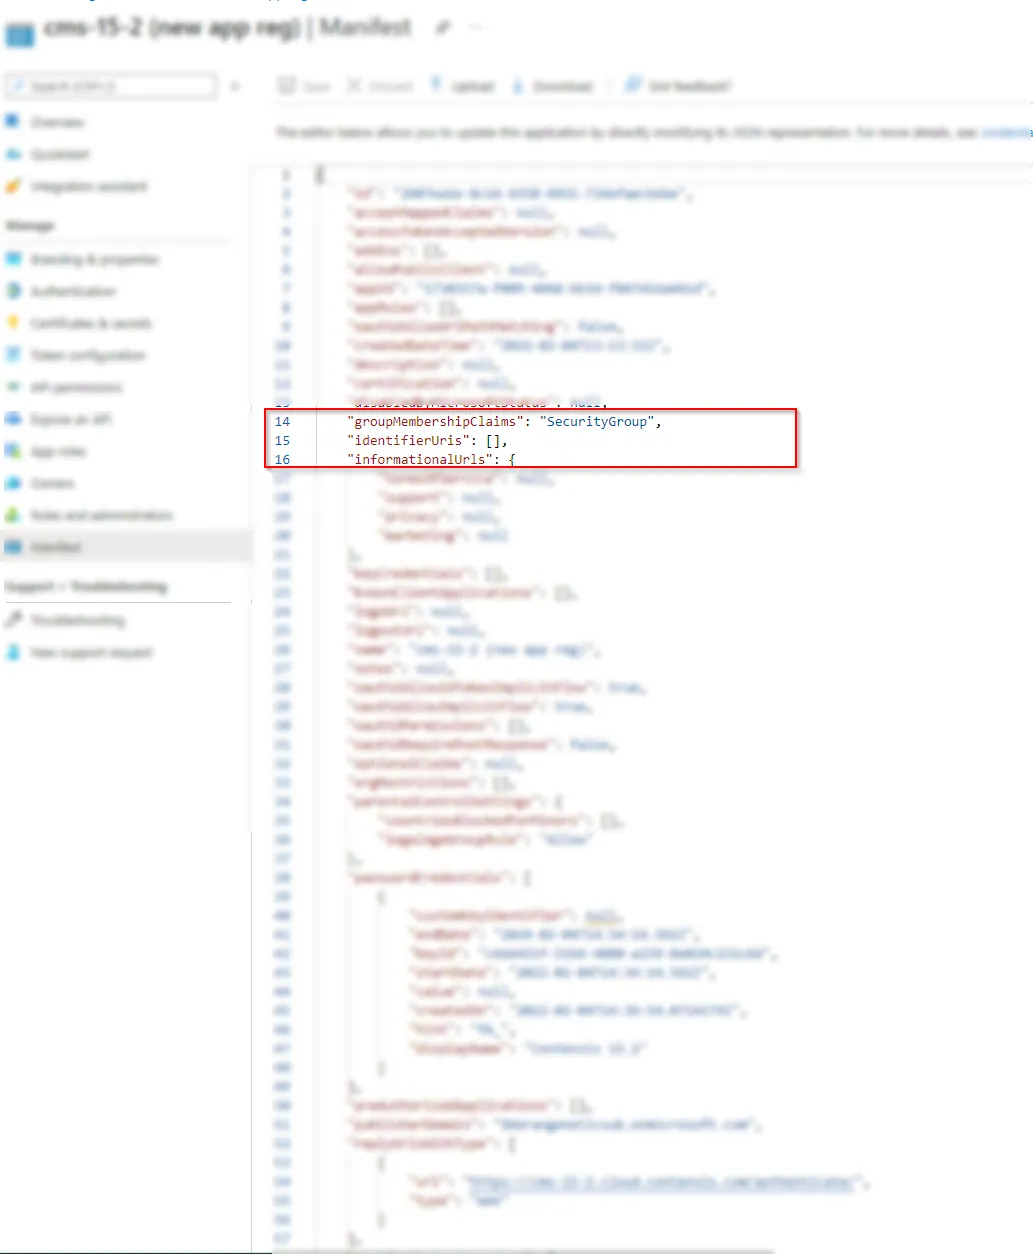
A message will display confirming that the manifest has been updated successfully.
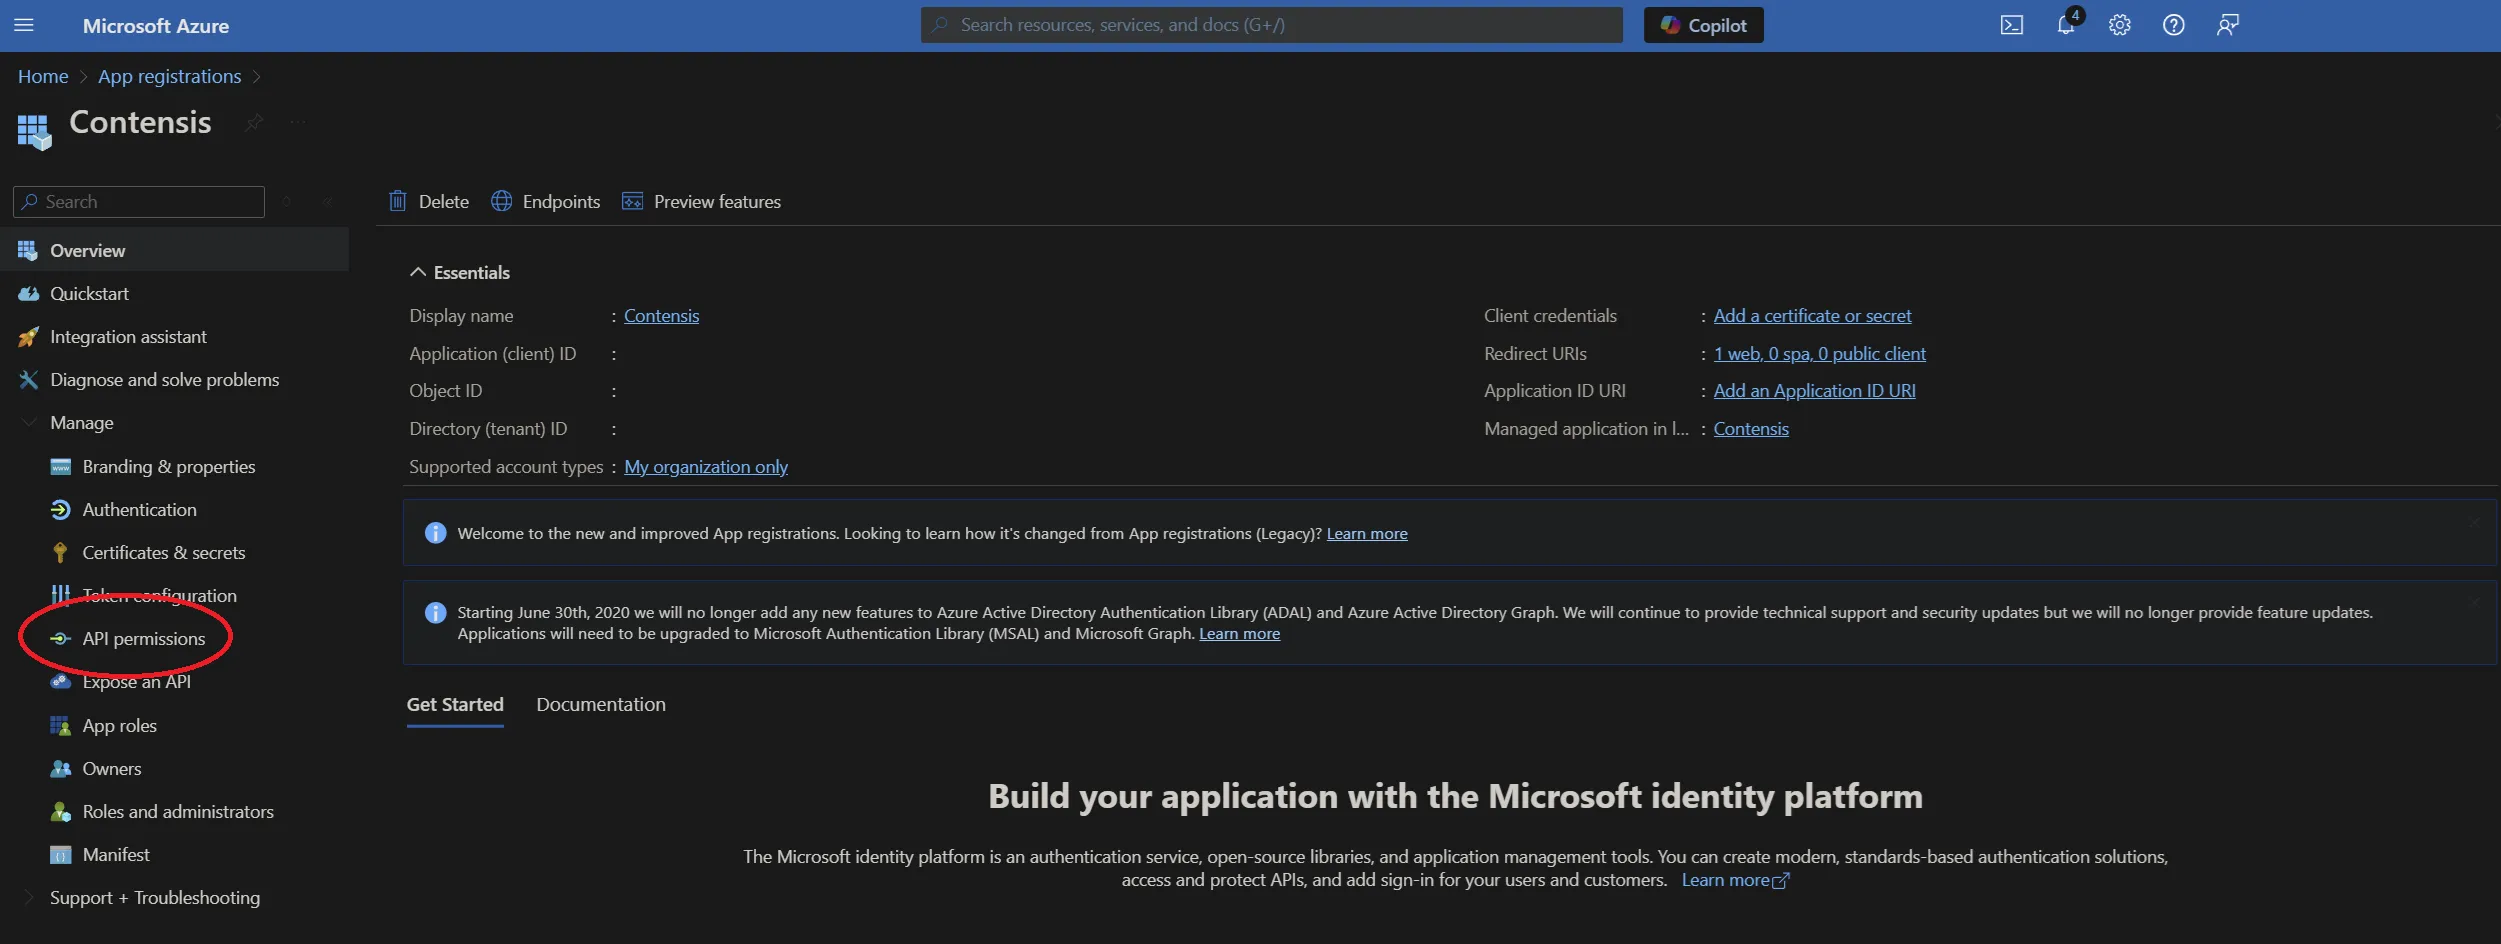
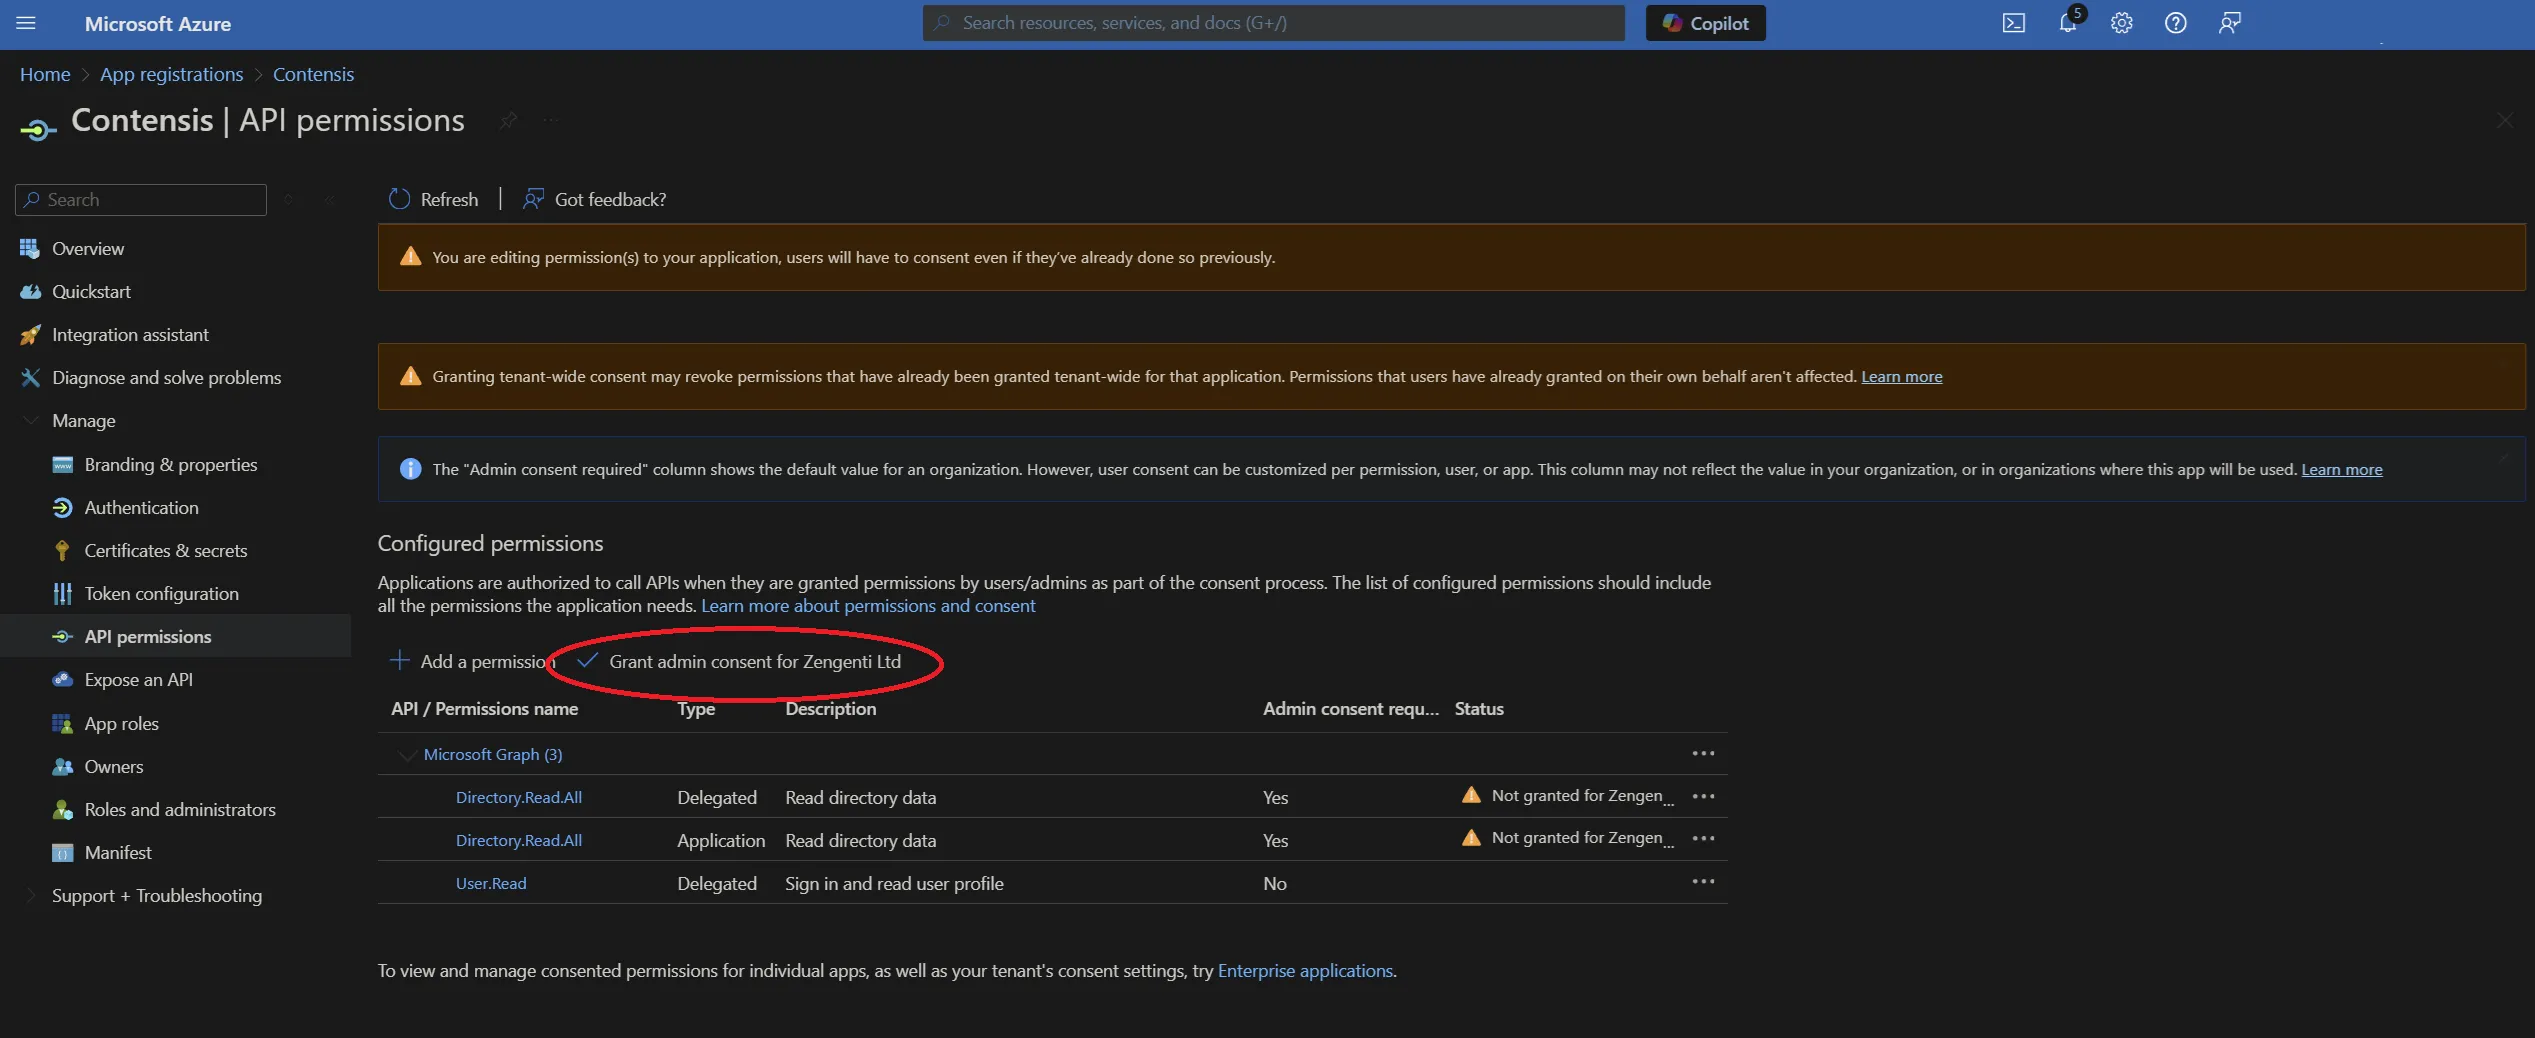
Click ‘API permissions’ and then click ‘+ Add a permission’.
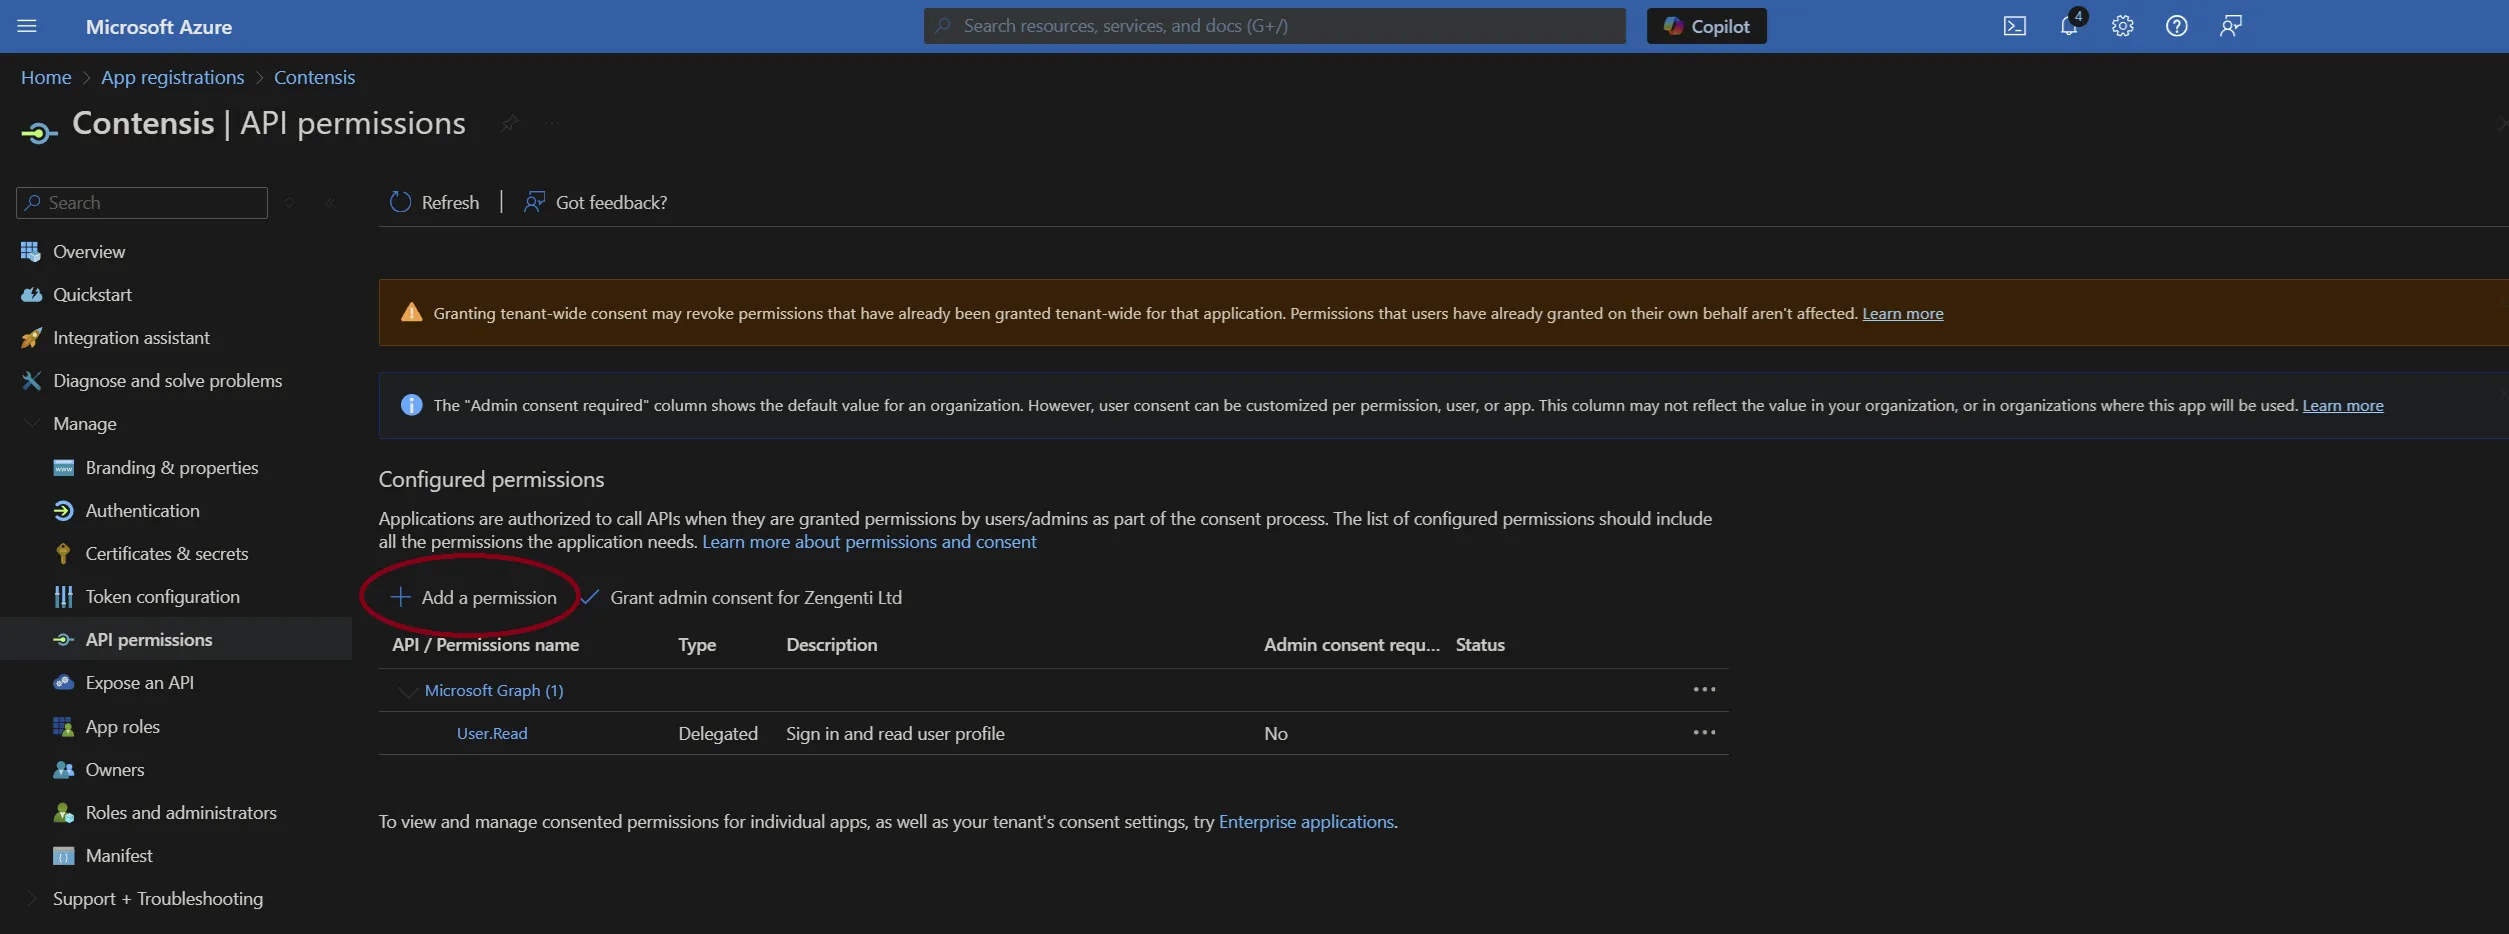
Click ‘Microsoft Graph’ from the top.
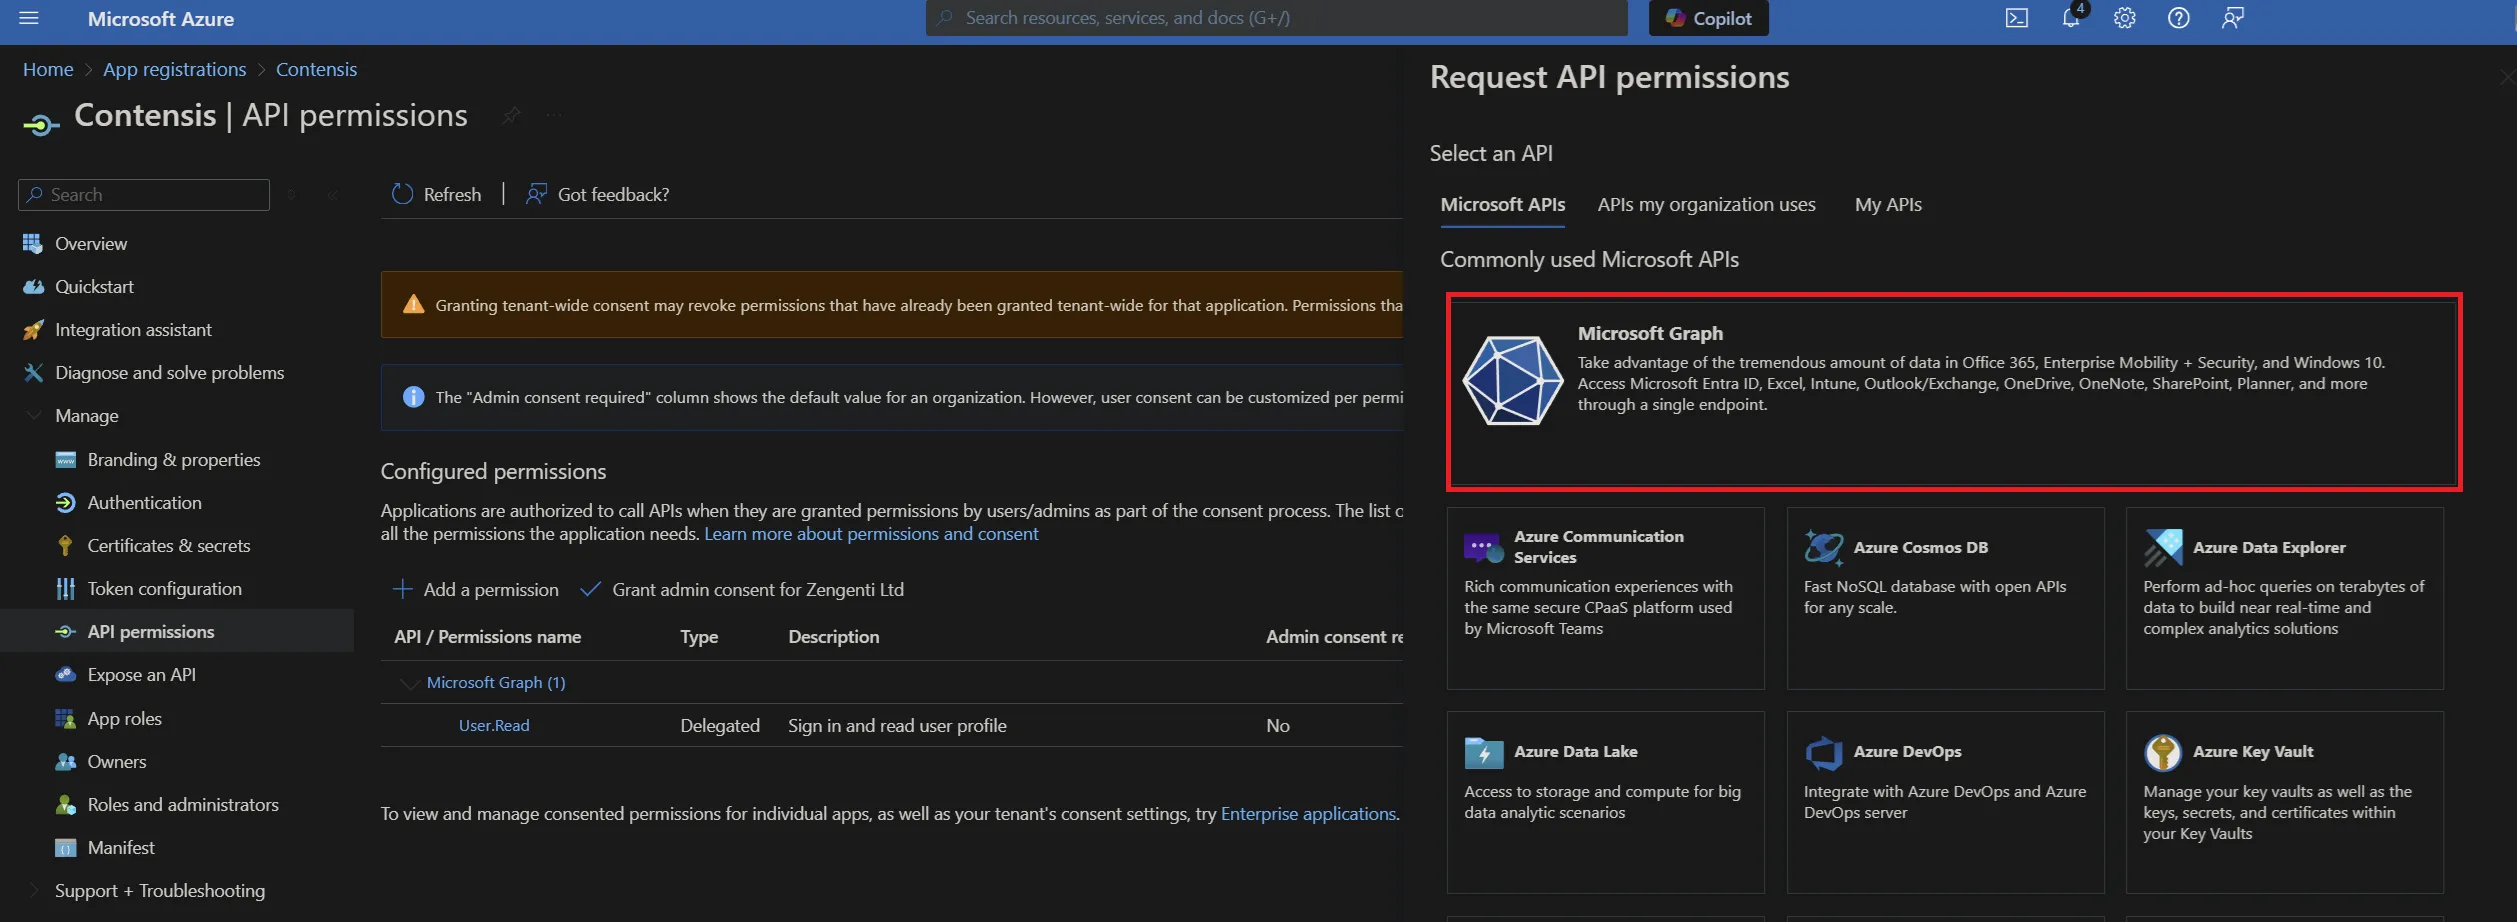
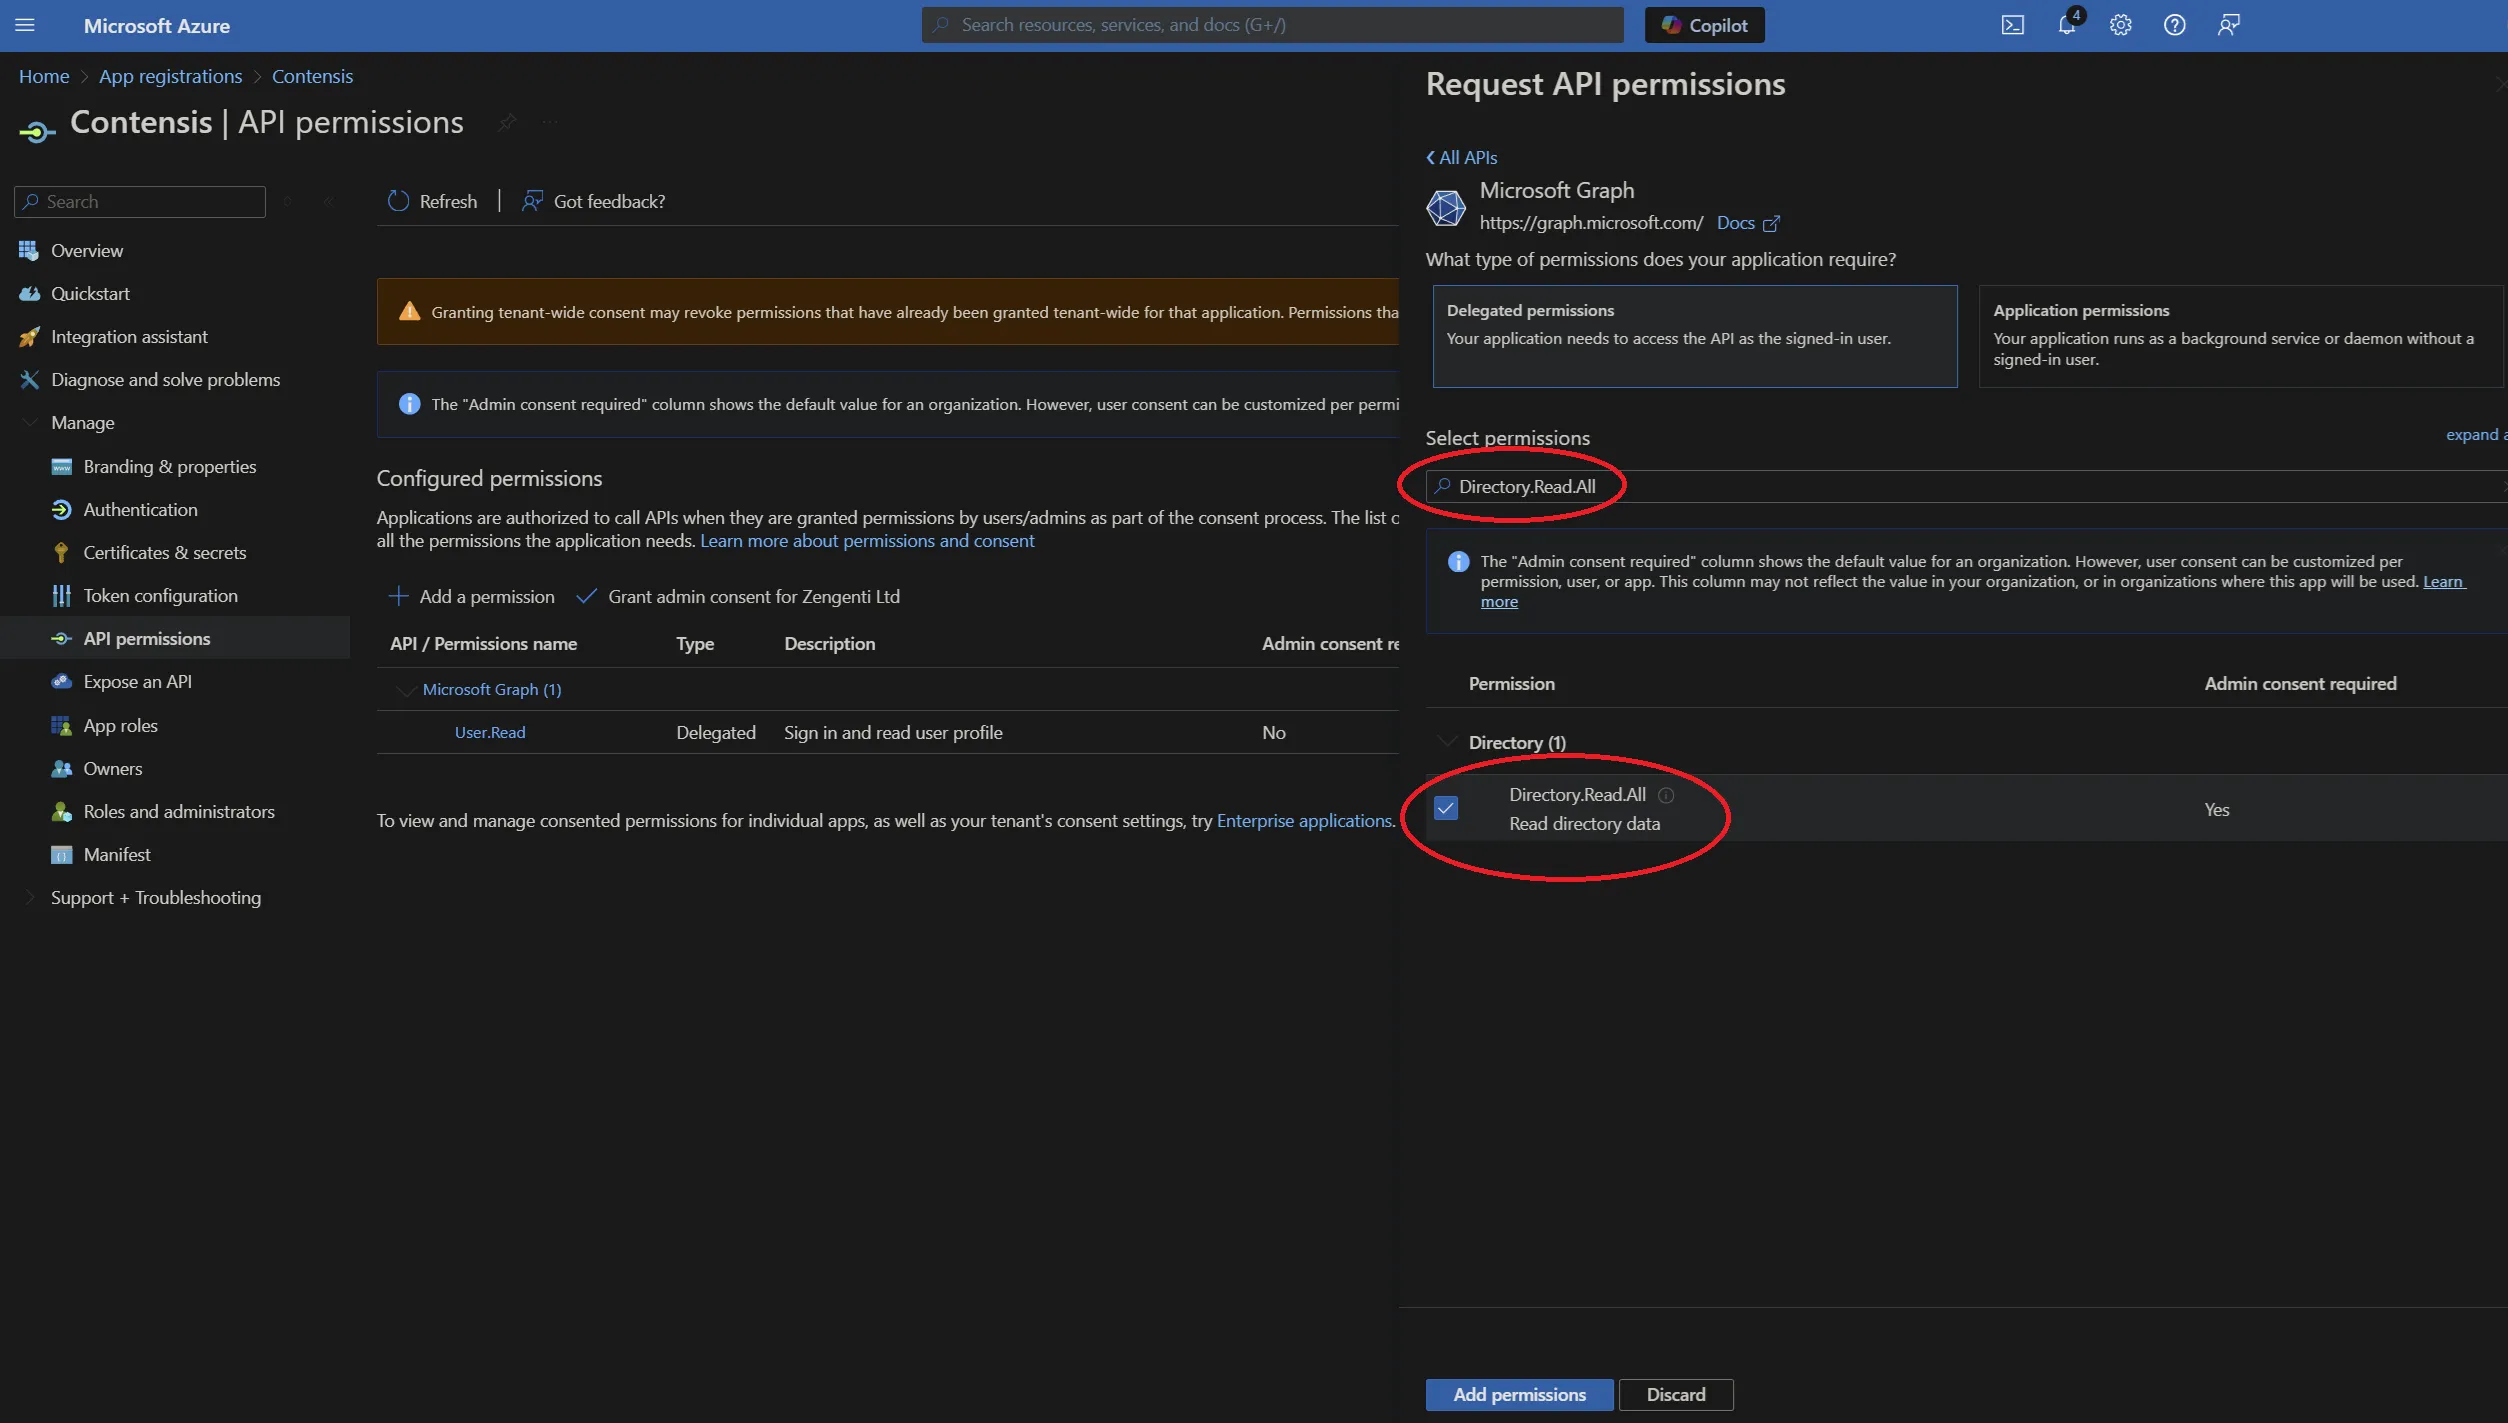
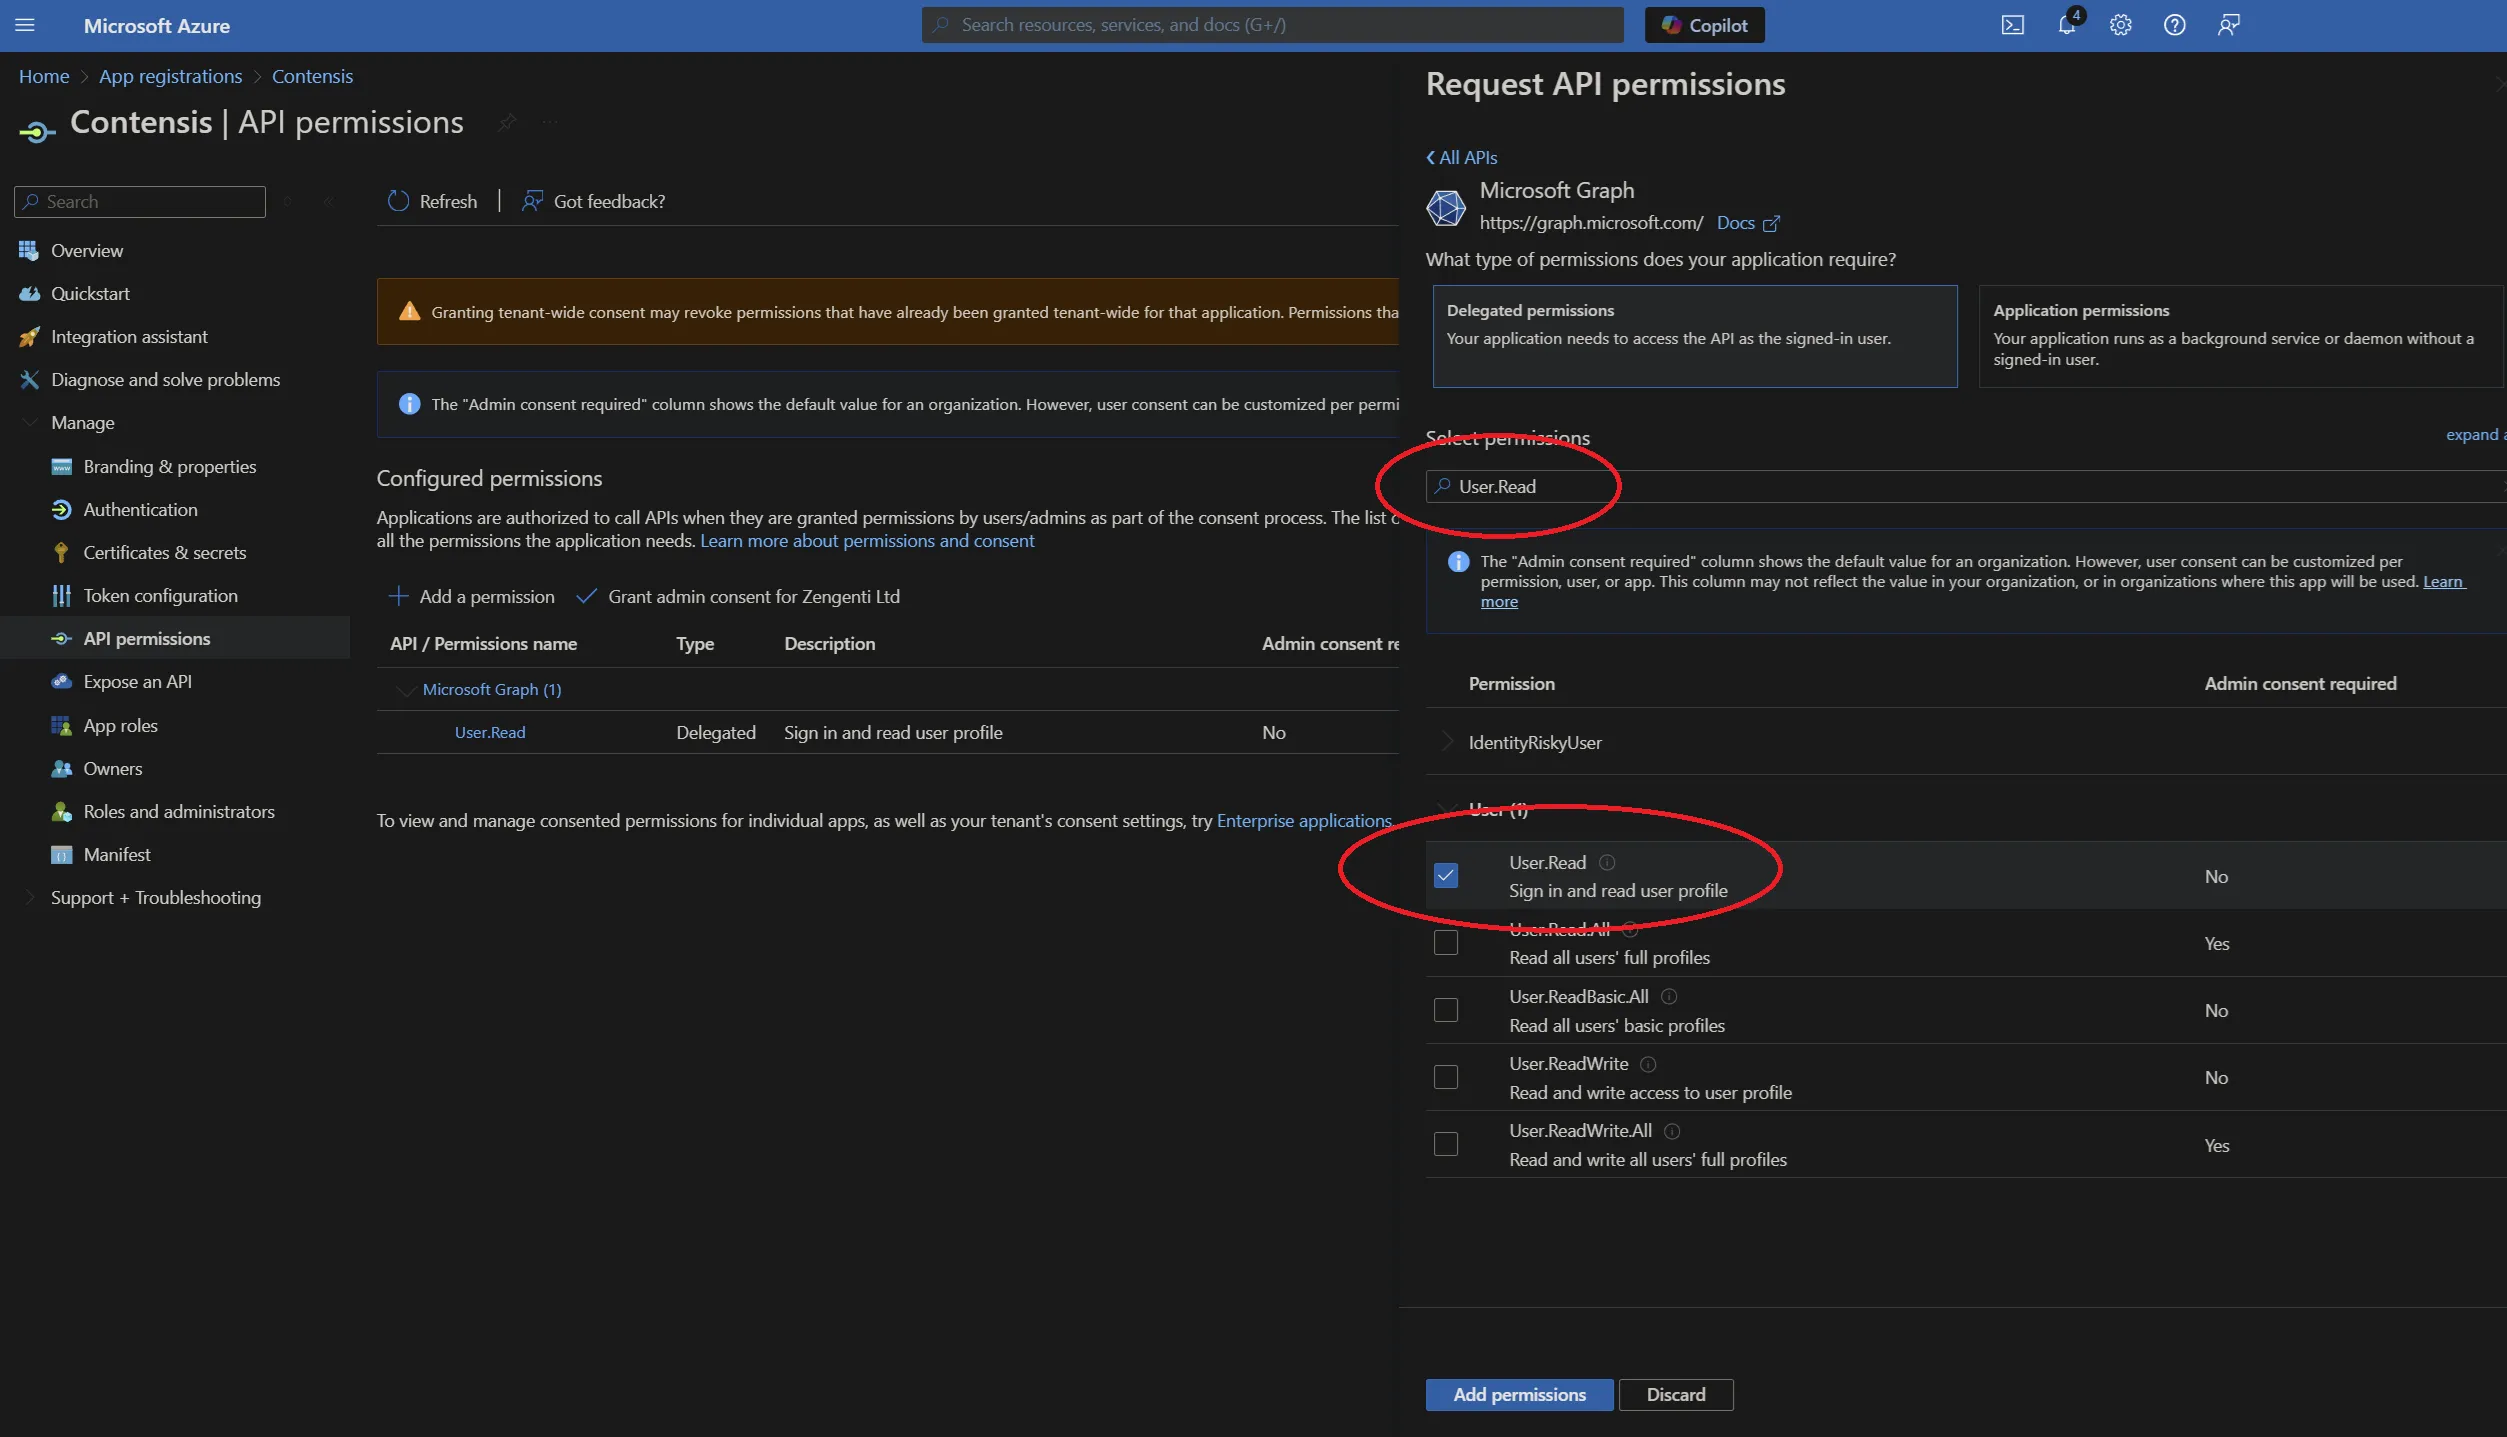
Now add the following permissions:
- Delegated permissions
- Directory.Read.All
- User.Read
- openid
- profile
- Application permissions
- Directory.Read.All
- User.Read.All
To add these, click on the relevant permission type and copy/paste the permission as listed above into the search field, then check the permission as shown below:

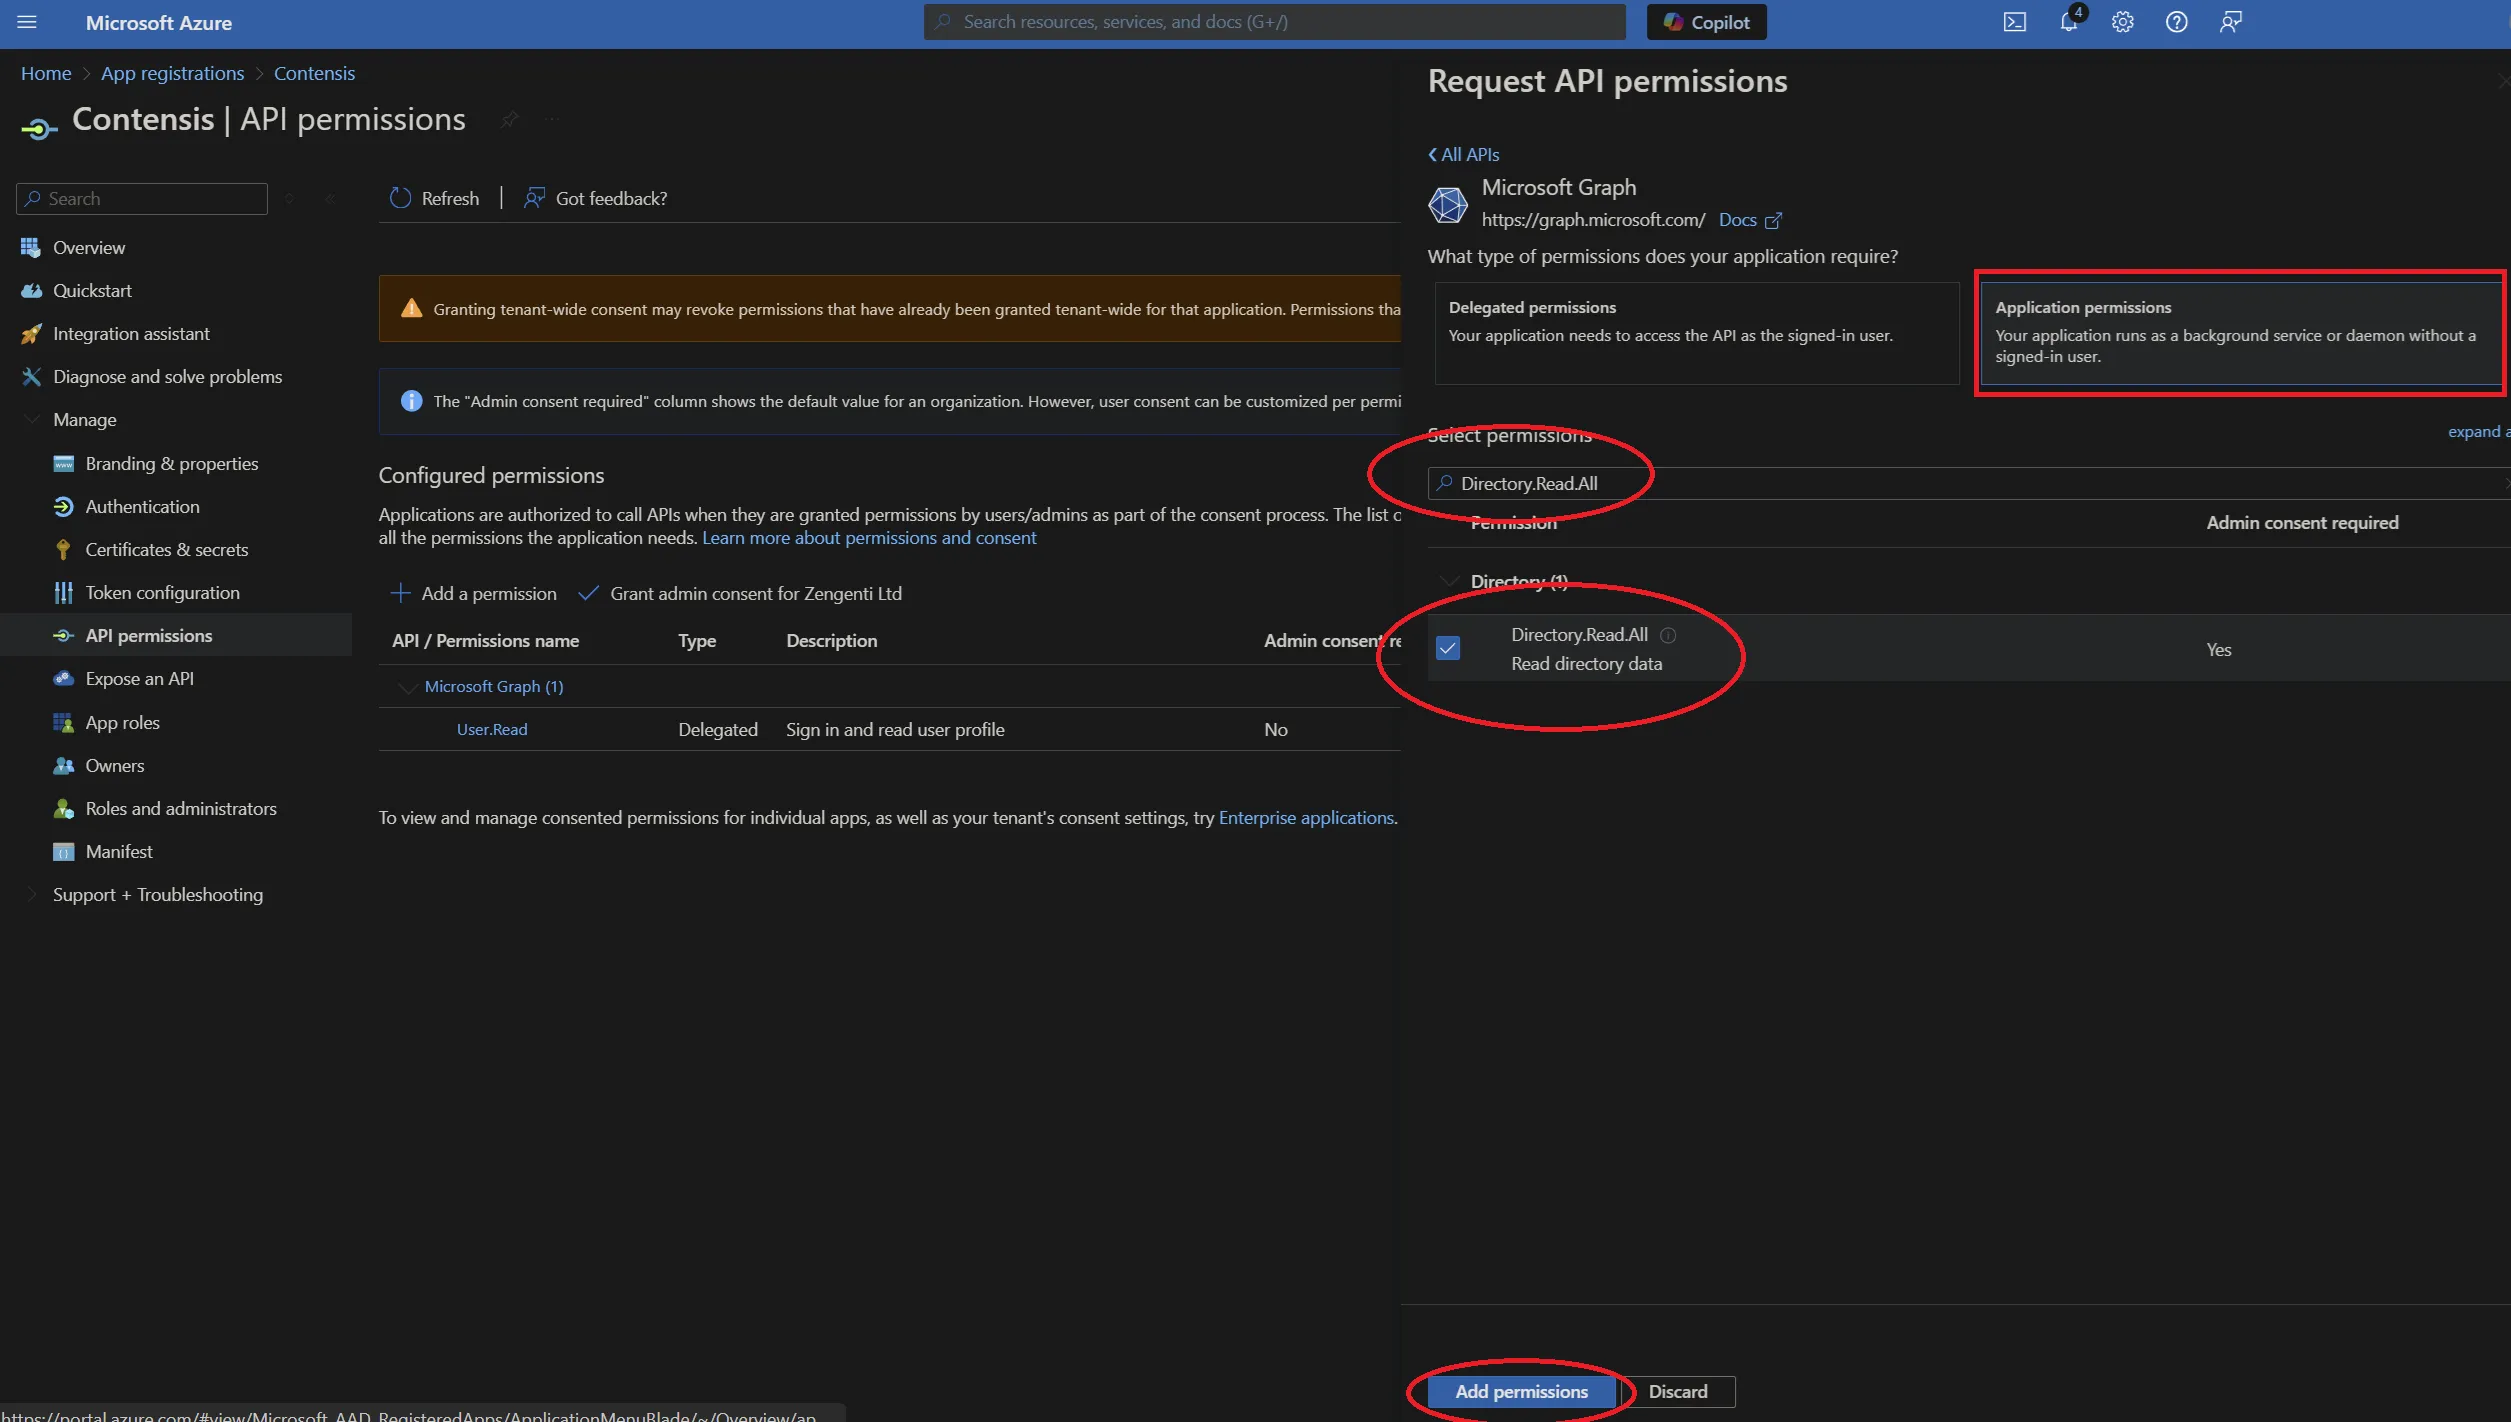
When the three permission options have been selected, click ‘Add permissions’.
This will take you back to the API permissions page, where a warning relating to changed permissions will be visible.
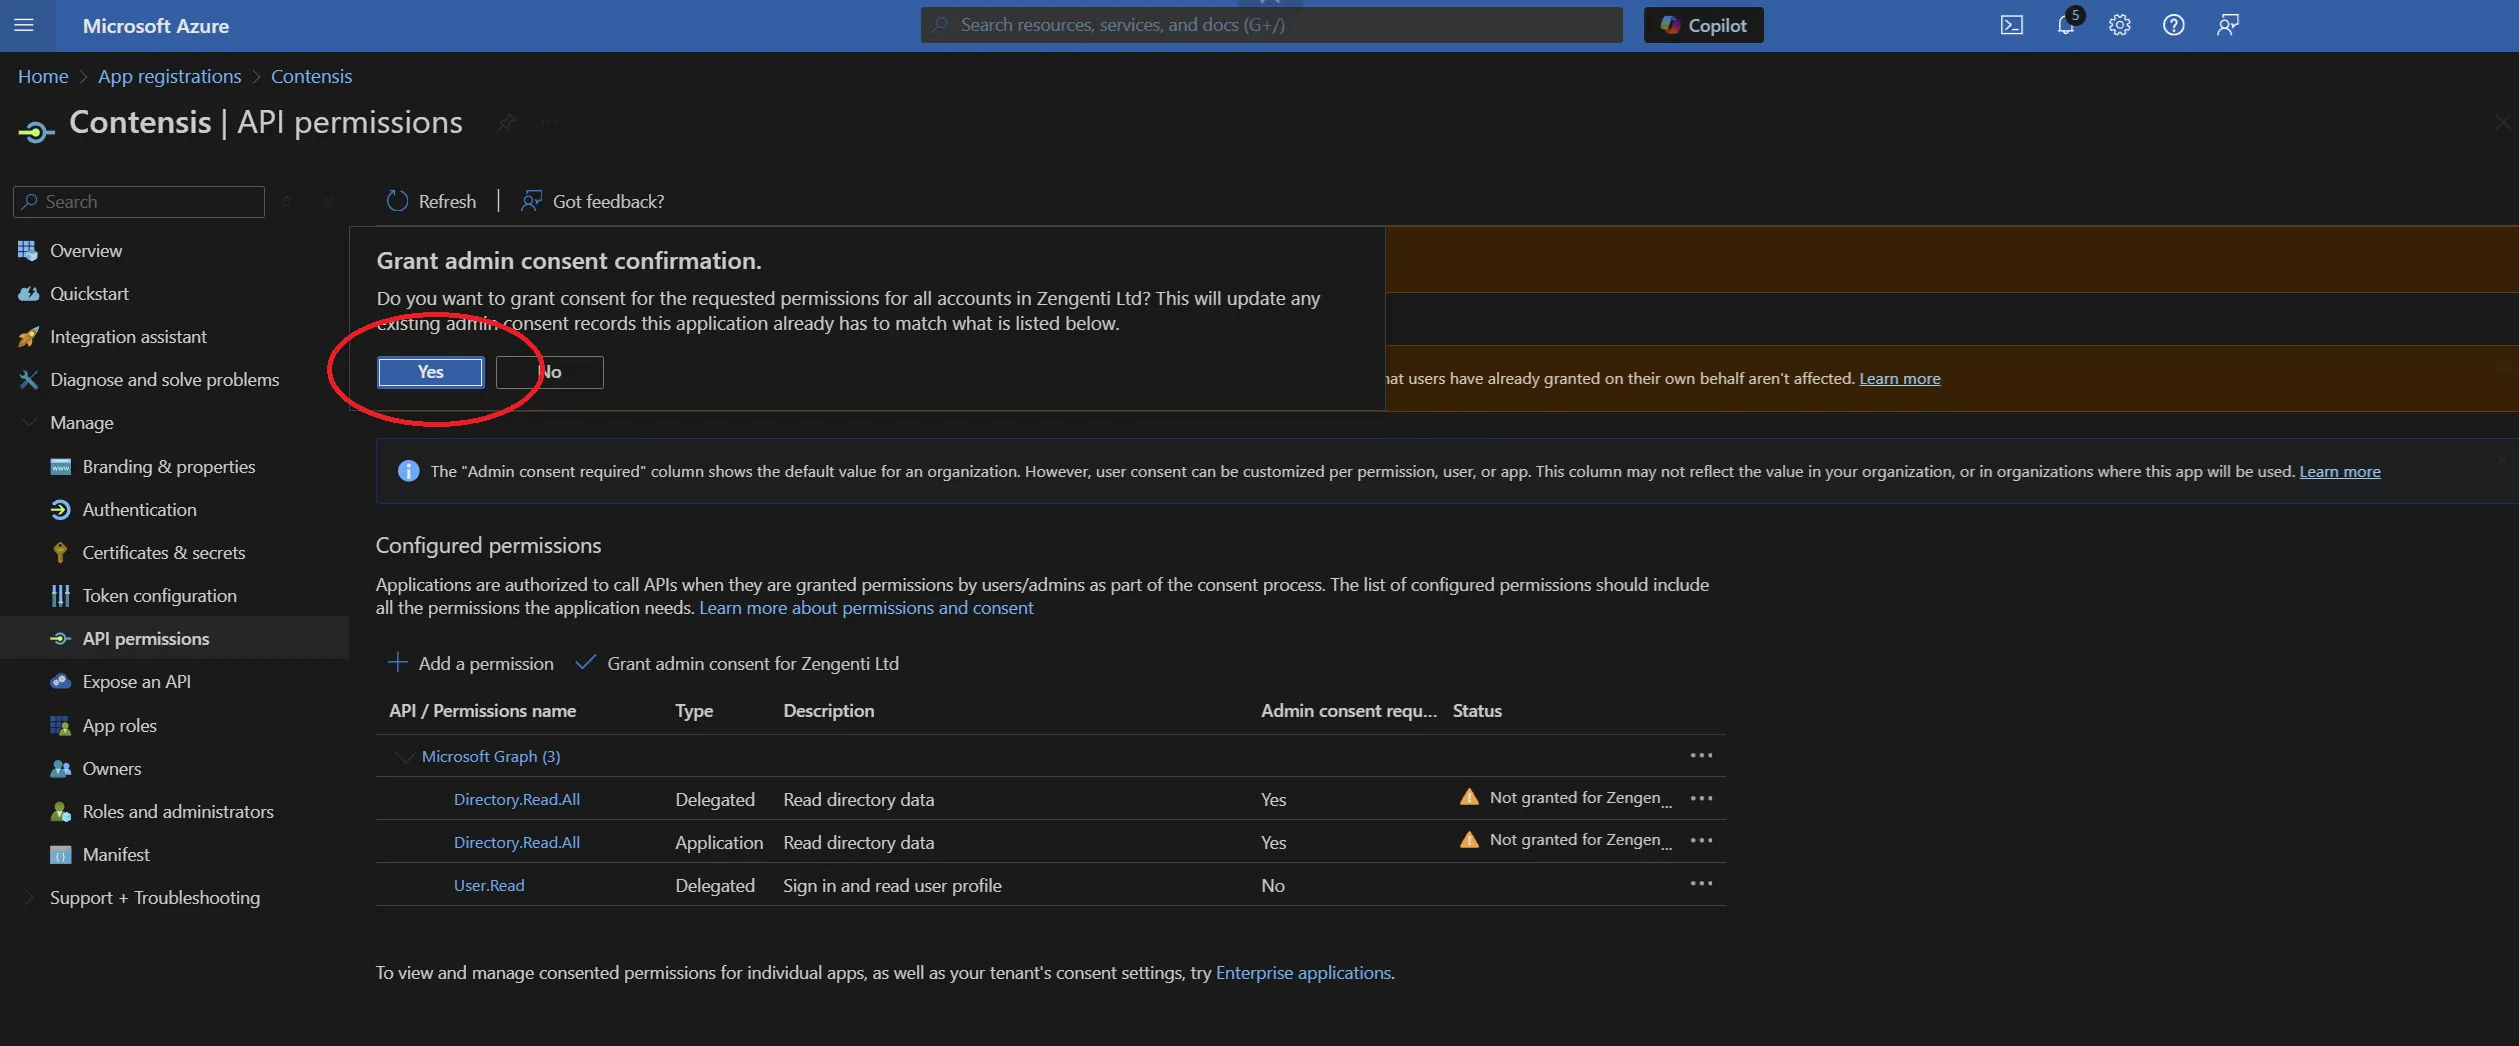
To allow the permissions to be available for the Zengenti identity provider, you must grant admin access. Click ‘Grant admin consent’ at the bottom of the page.
A further warning will then display - click ‘Yes’.
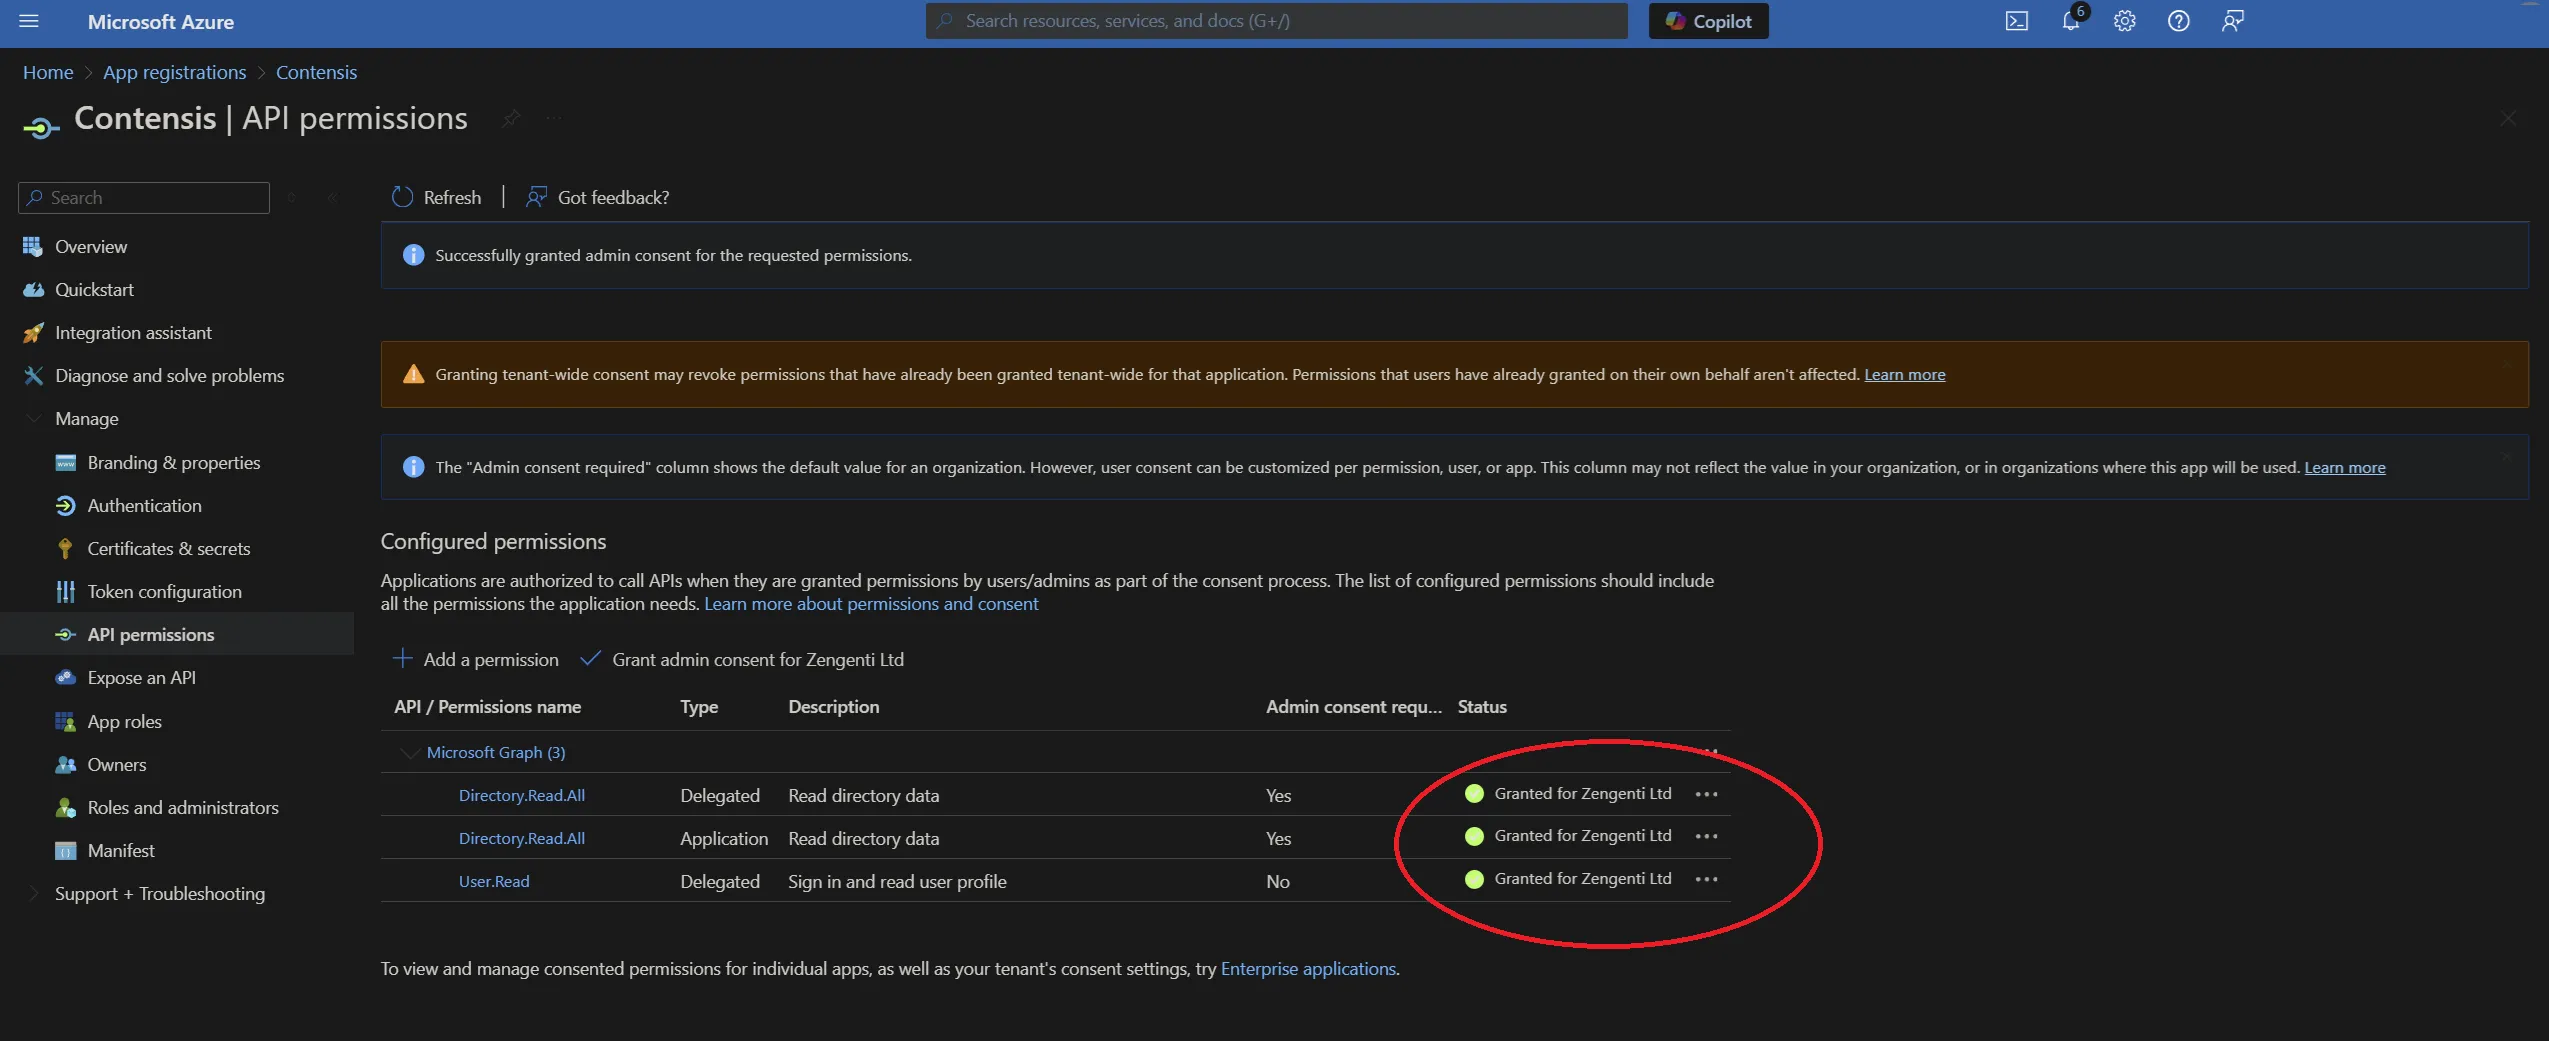
A success message will display, together with details of the permissions granted.
Obtain relevant federation data for the CMS
The Zengenti identity provider requires the following information to federate with your Azure instance:
- Metadata endpoint
- Application id
- Tenant id
- Tenant name
- Application key
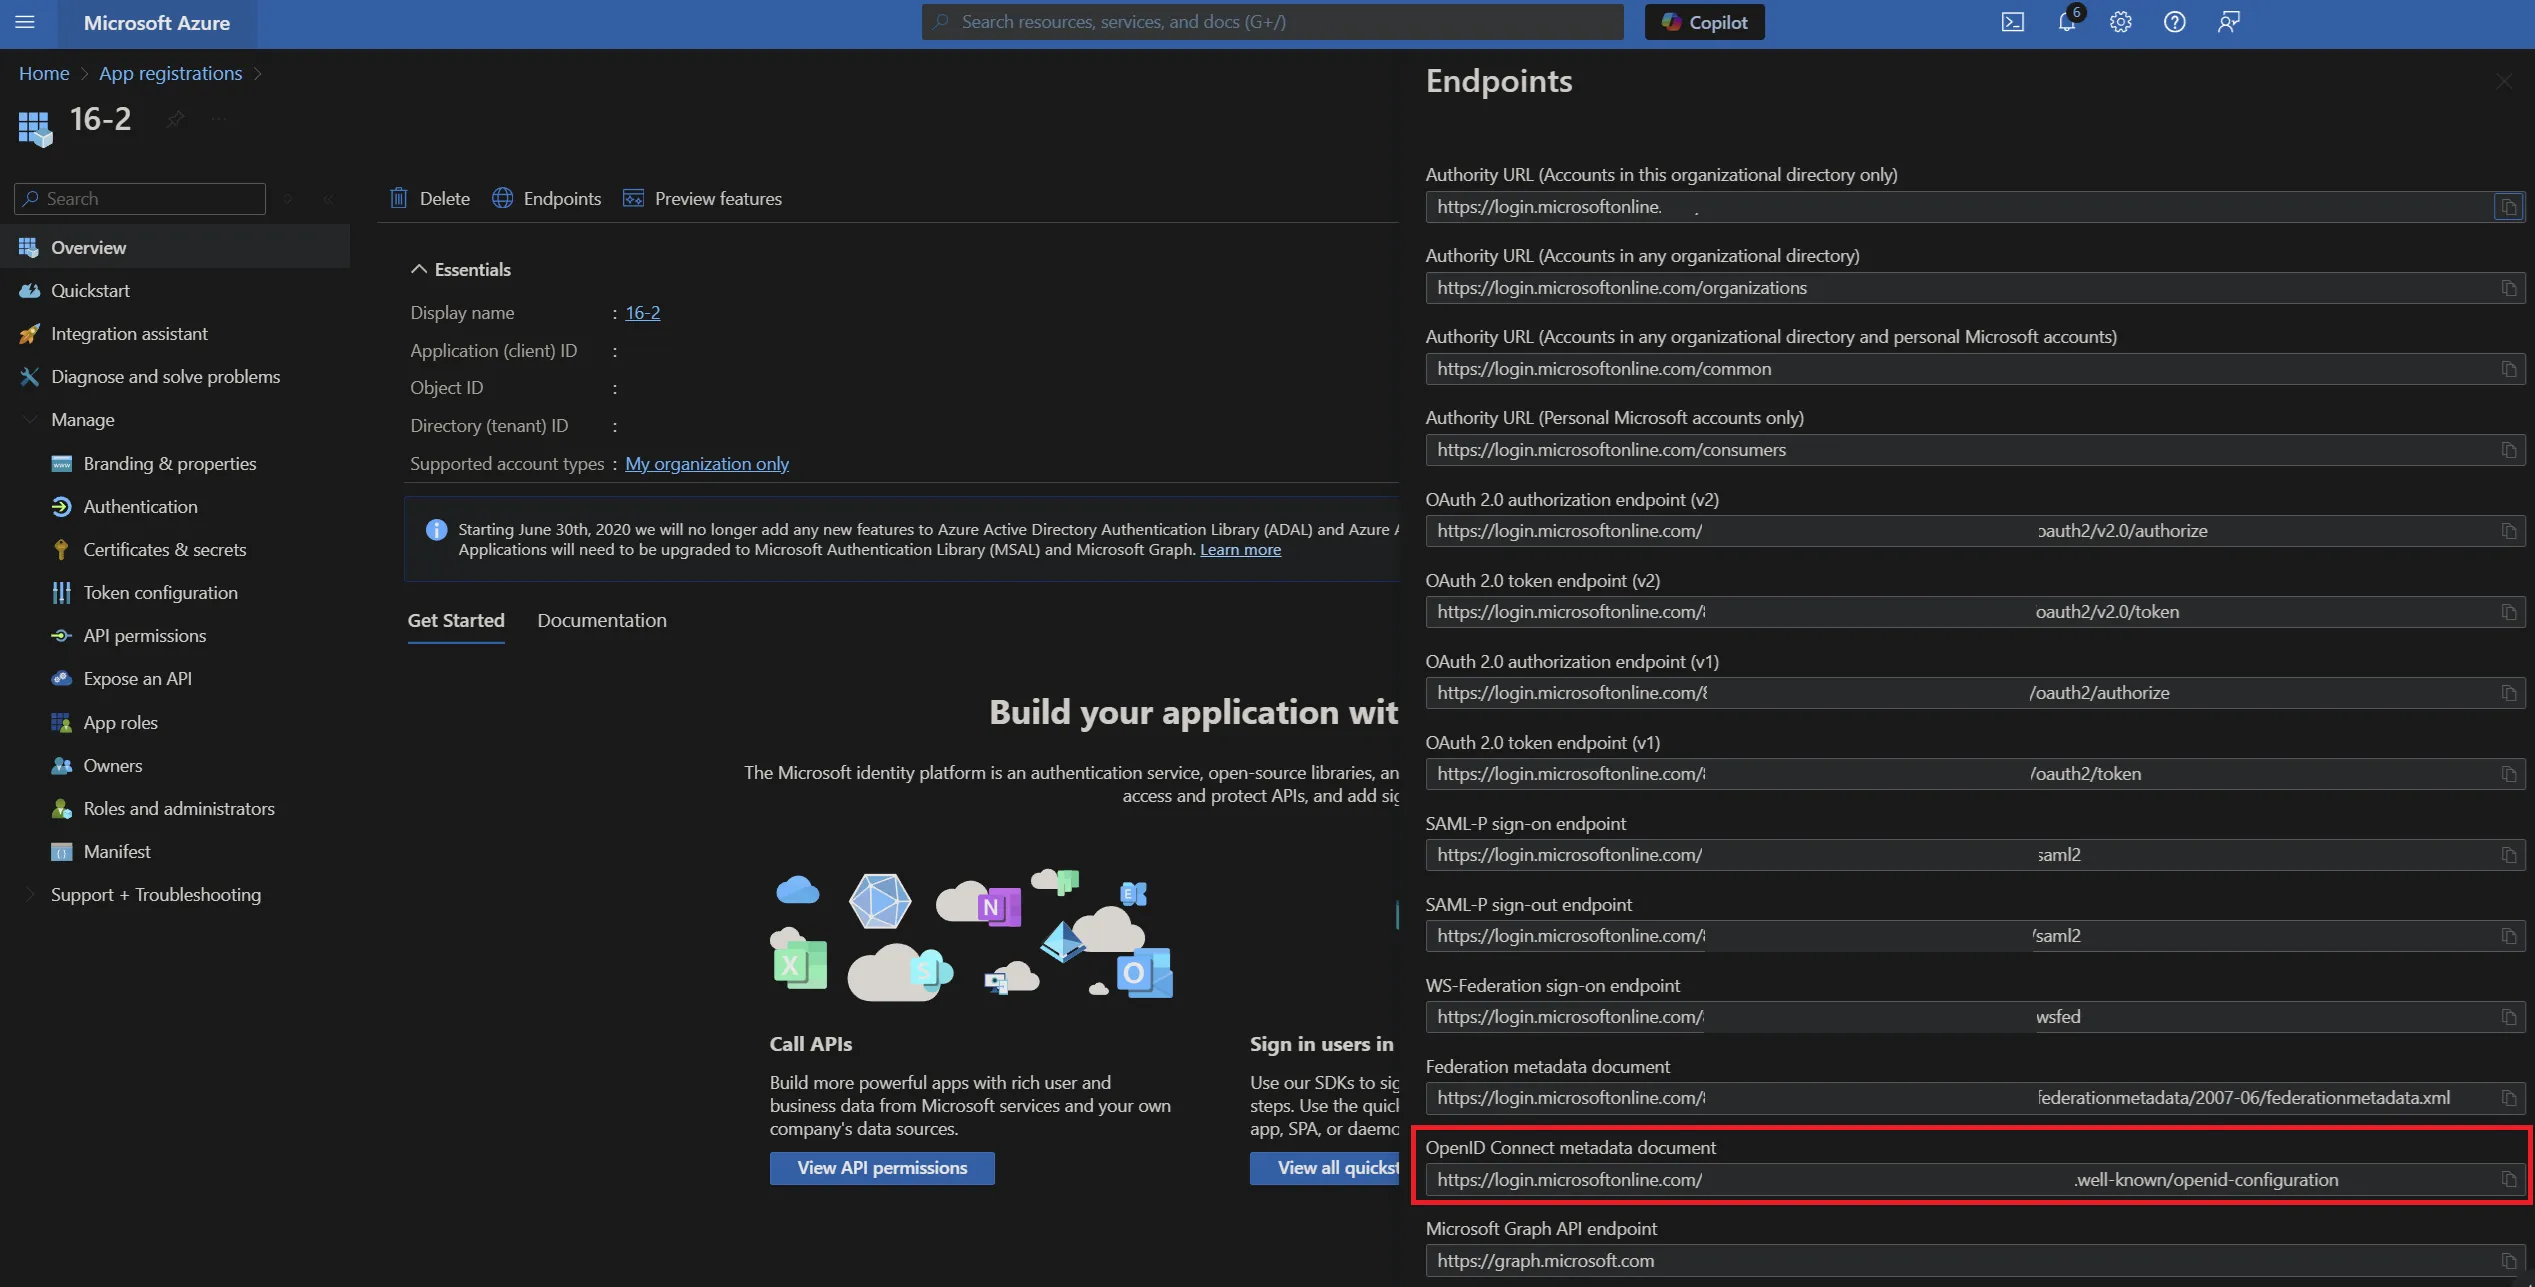
Metadata endpoint
Go to “Azure Active Directory” > App Registrations
e.g. Home > Zengenti Ltd > App Registrations
Click ‘Endpoints’ in the top bar.
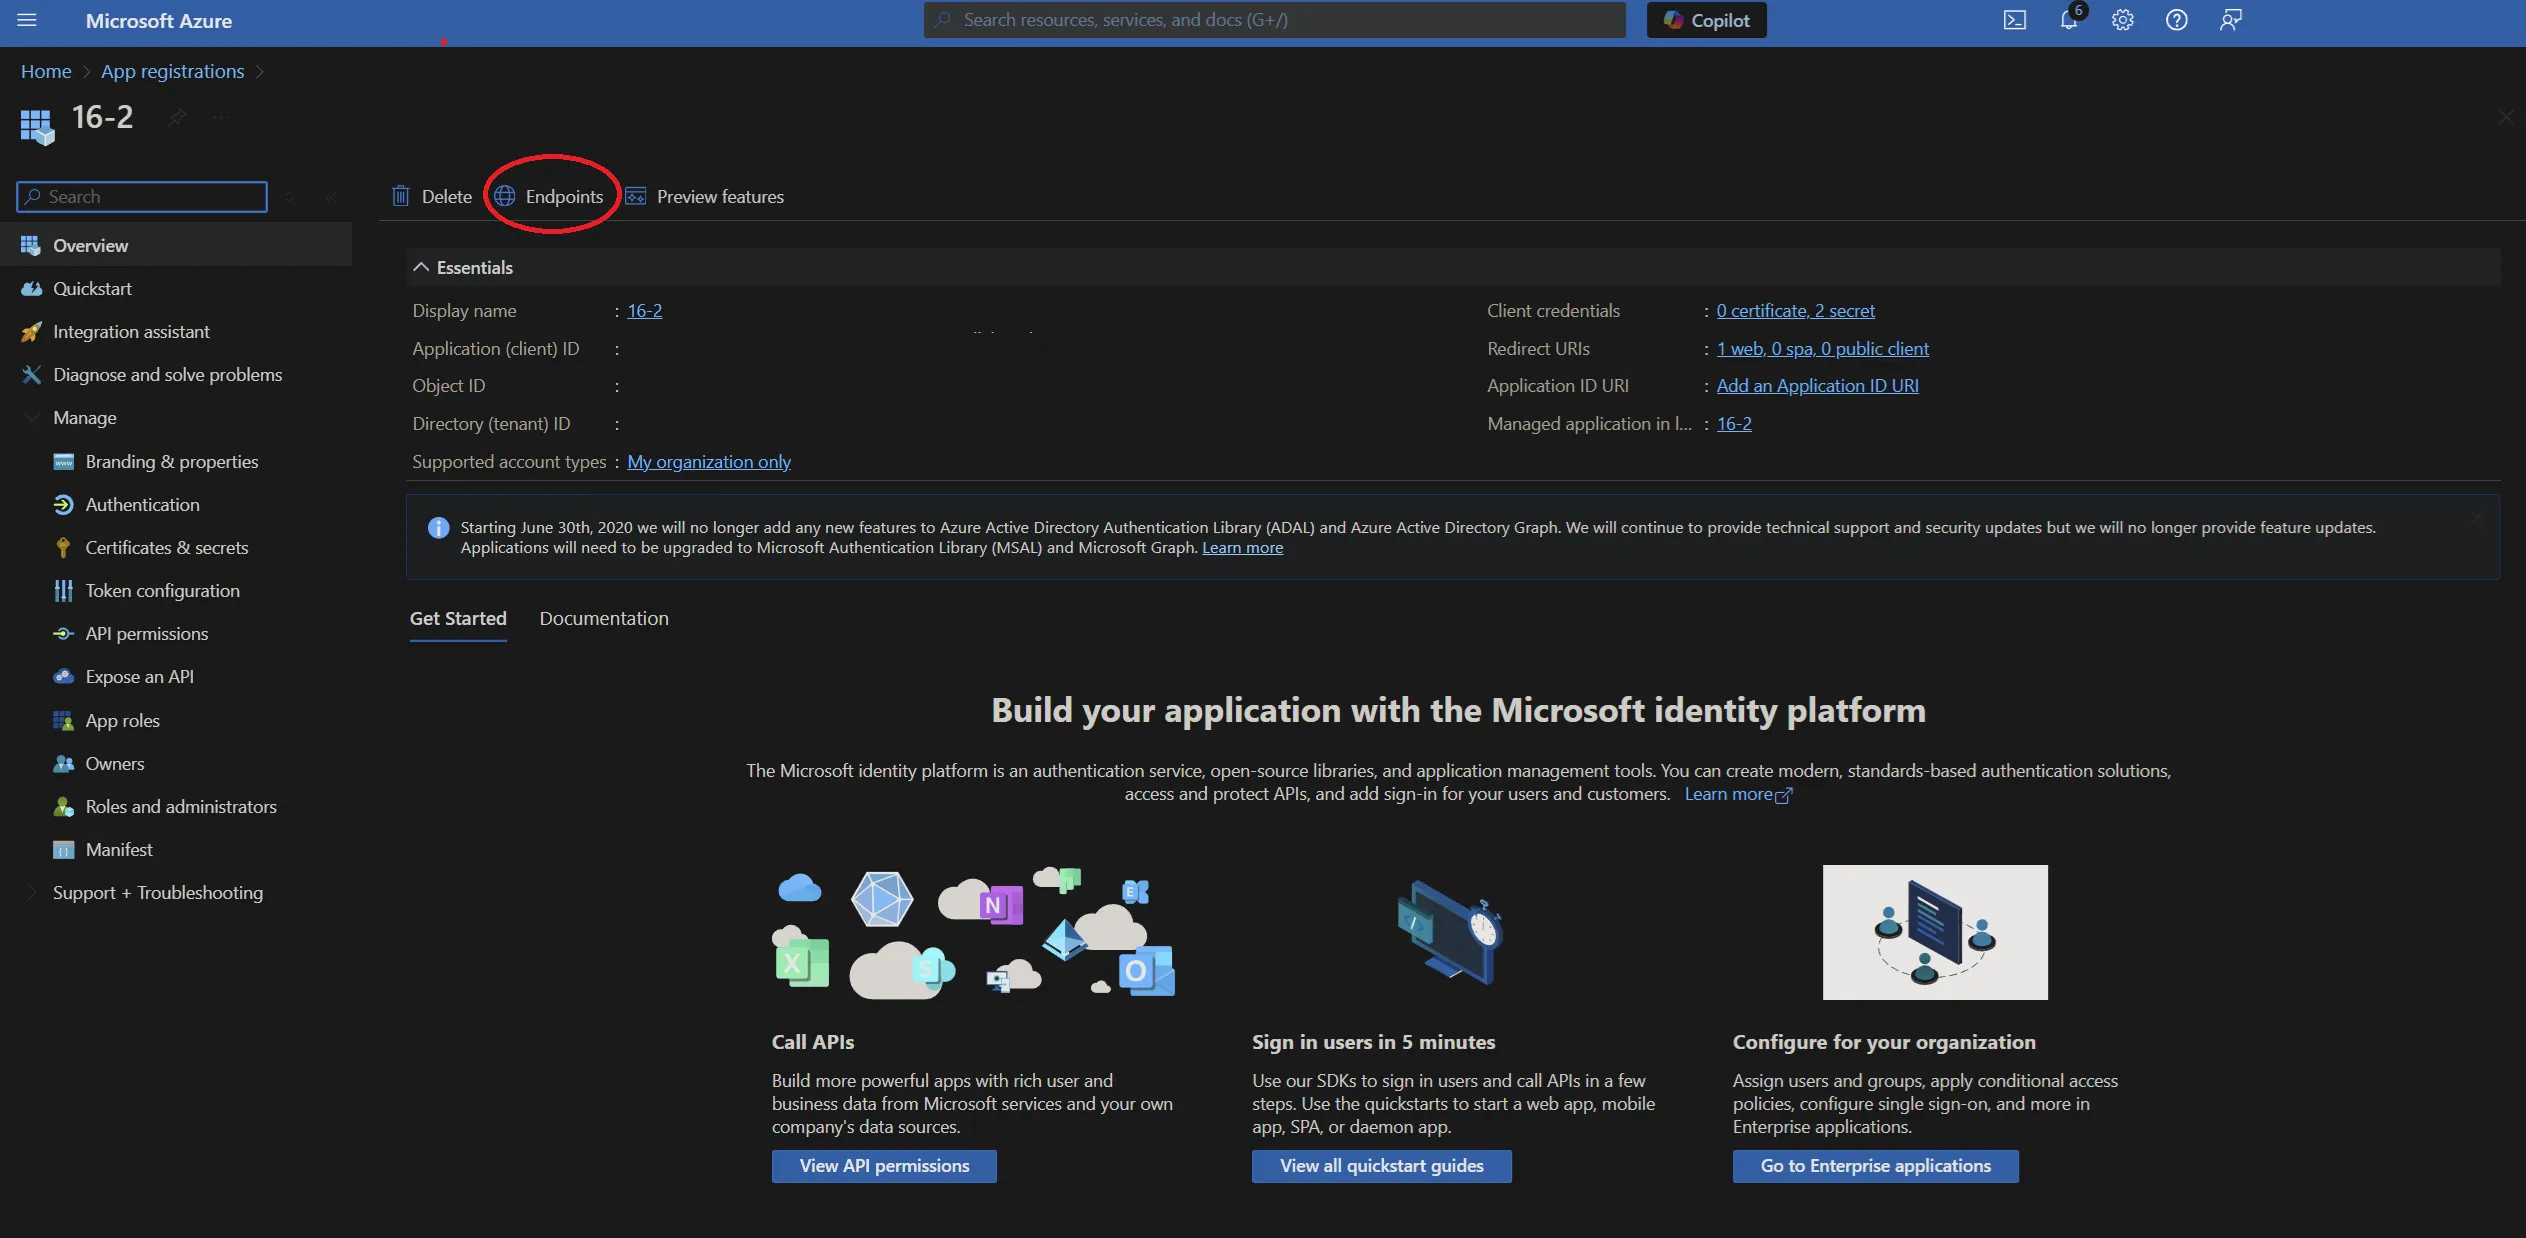
You will see a list of available application endpoints.
Copy the link for ‘OpenID Connect metadata document’
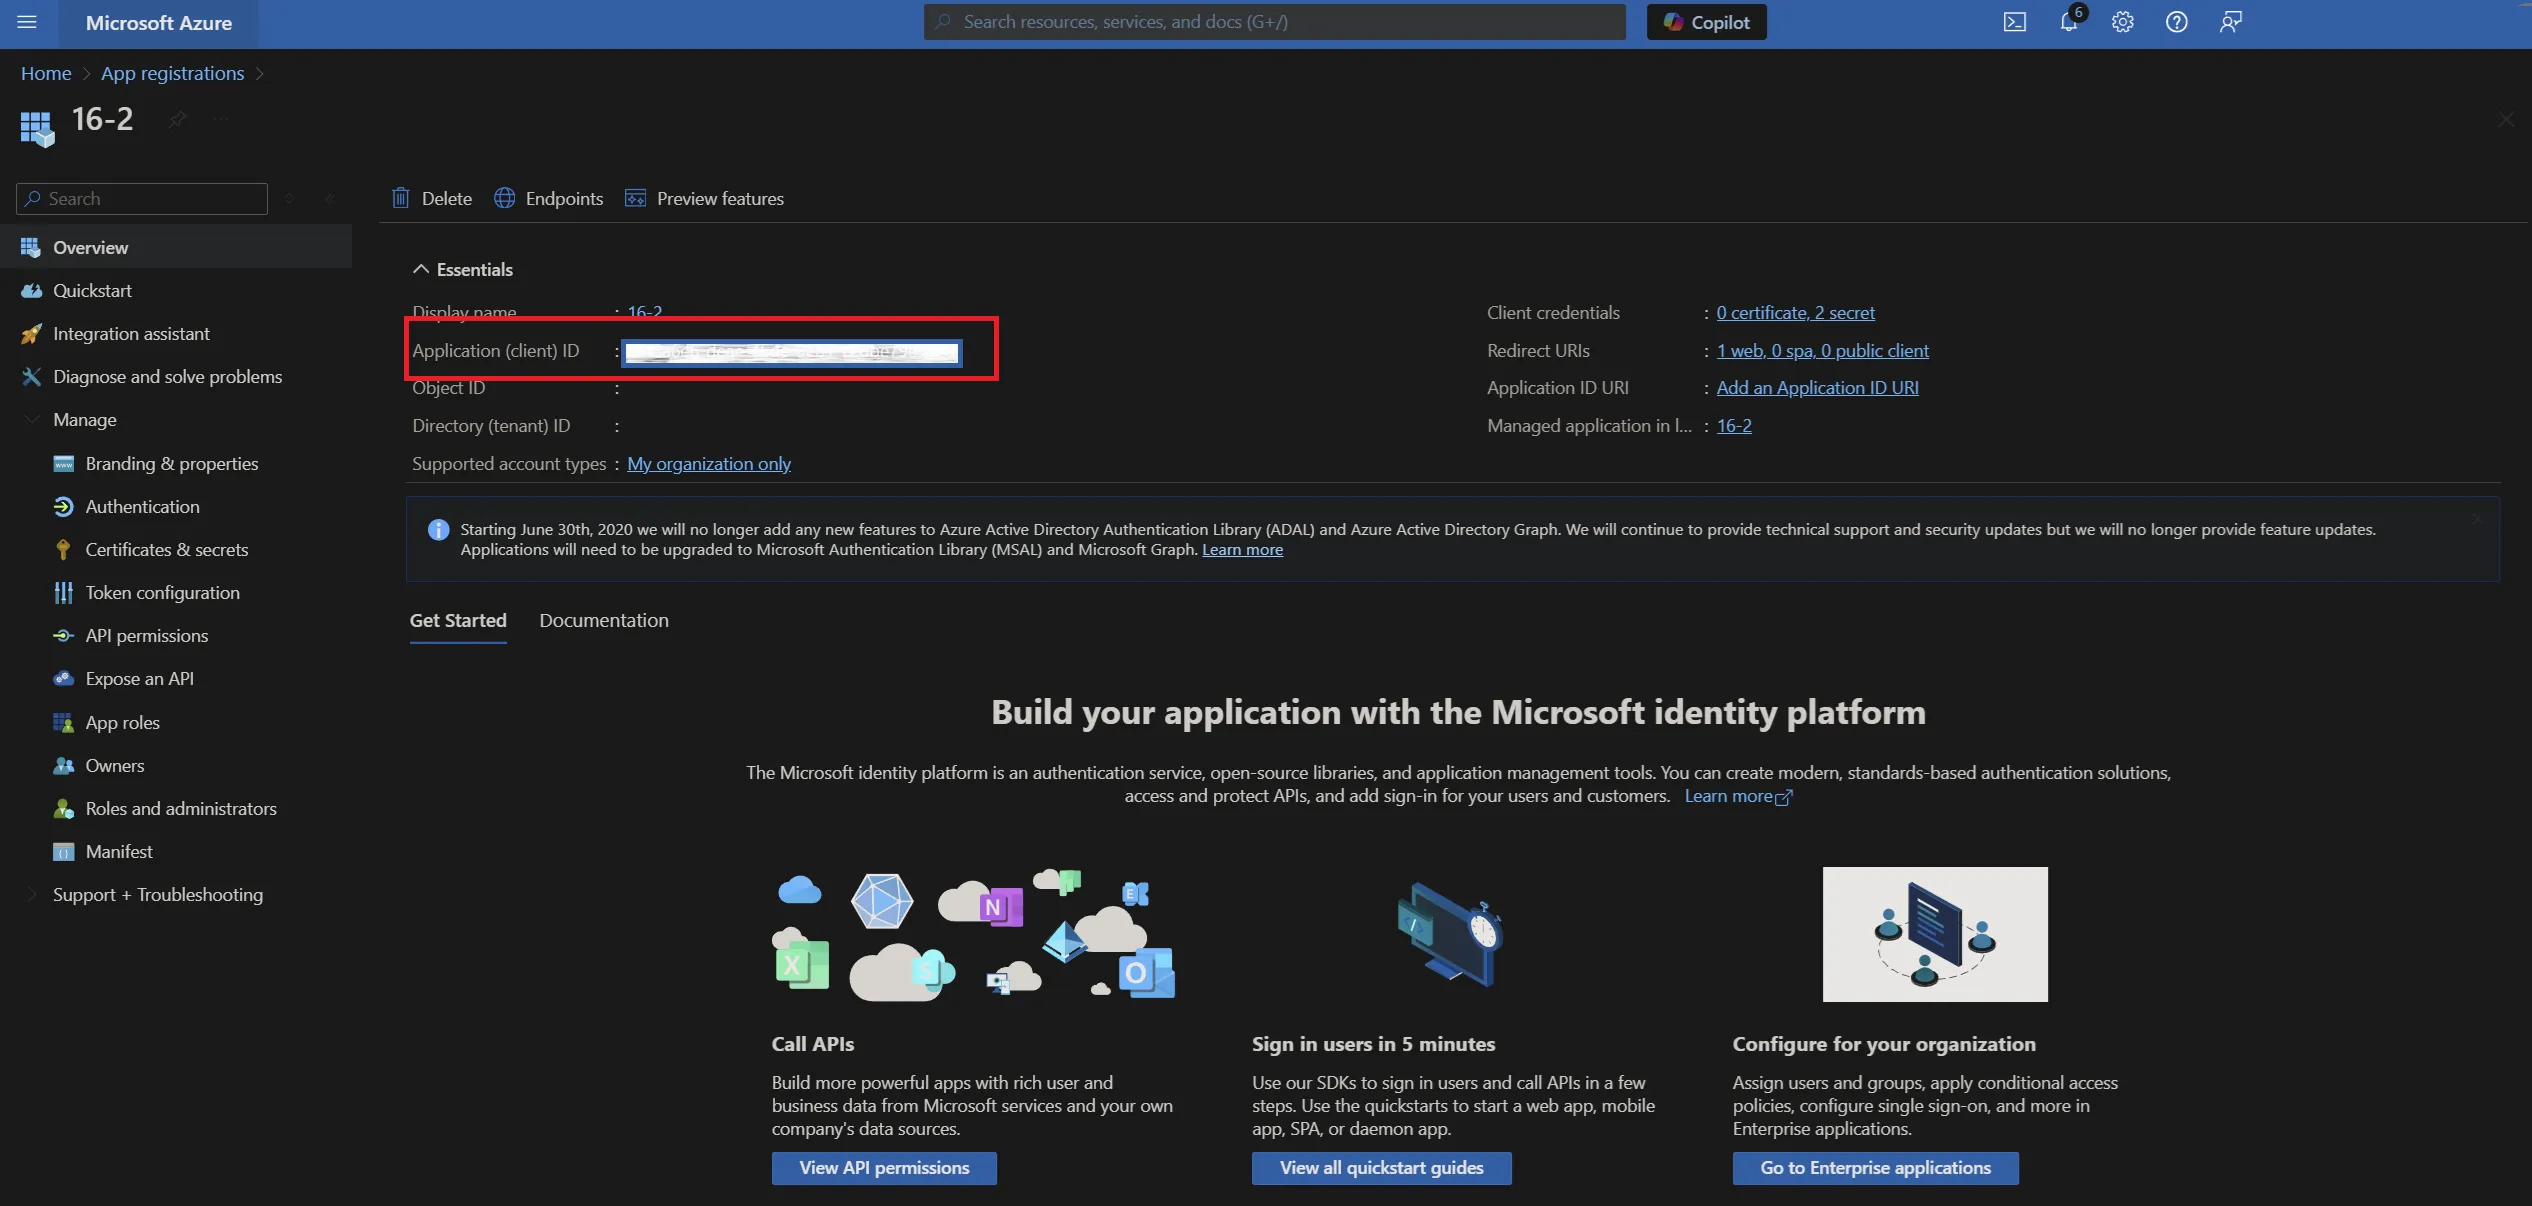
Application id
Click ‘Overview’ in the application options pane and then copy the ‘Application (client) ID’ which will be required when configuring Contensis to use your Azure AD instance.
Tenant id
In the ‘Overview’ screen, copy the 'Directory (tenant) ID’ which will be required when configuring Contensis to use your Azure AD instance.

Tenant name
Select ‘Azure Active Directory’ from the panel on the left, and then ‘Custom Domain Names’. You can then copy the ‘Name’ listed as the ‘Primary’ - this is your tenant name and will be required when configuring Contensis to use your Azure AD instance.

Application key
In the application overview panel, click ‘Certificates & secrets’ and then click ‘+ New client secret’.
You will see a form for naming and choosing the lifespan of a key. Complete as appropriate for your requirements, then click ‘Add’.

You will now need to copy the key as directed before navigating away from this screen. Click the ‘Copy to clipboard’ icon.
Important: Once you leave this screen or carry out any other action, you will no longer be able to retrieve this key value.

You have now completed the registration of Contensis with Azure and are now ready to configure Contensis to use Azure AD.