Export content from InDesign and deliver it to your digital service

We all use a variety of systems on a daily basis. You might have content in a catalogue system, a learning management system, or publishing software. When you want to use this content elsewhere – say on your website, in an app, or in printed material – you probably have to resort to copying and pasting content from one system to another.
We know how frustrating this can be, so we've tried to make it as easy as possible to get content in and out of Contensis. Using our Management API you can import content from other systems into Contensis as entries. Once you've added any extra data – such as images or metadata – you can then publish this content to your website or any other digital services using the Delivery API.
At a conference late last year I met a team who publish a magazine for people working in the museums industry. They were looking for a way to get content that they had written for their magazine from Adobe InDesign and onto their website. I thought I'd put together a blog showing how easy it is to do that using Contensis.
In this blog you'll learn how to:
- Create an XML .DTD file to set a schema for the content
- Tag the InDesign document to match the DTD
- Export the content from InDesign as XML
- Create a new Contensis Content Type called ‘Story’ to match the schema
- Create an API key
- Use the Contensis Management API write a simple script to create the entries
- Run the script locally
InDesign allows you to export your content as XML by tagging the content. By using the Contensis Management API and some C# you can then write a bit of logic to read the XML and populate Contensis with entries.
Before reading further, get the source code on GitHub:
Step 1: Creating an XML .DTD file
First take a look at your InDesign document and examine how you need to break it down for export as XML. An XML structure is defined by a Document Type Definition, or DTD, which is stored in a .dtd file.
You will need to break your content down into individual elements that will correspond with fields in your content type. This may take a bit of working out if you are starting from scratch. If you are using our example files, then we’ve already done this for you.
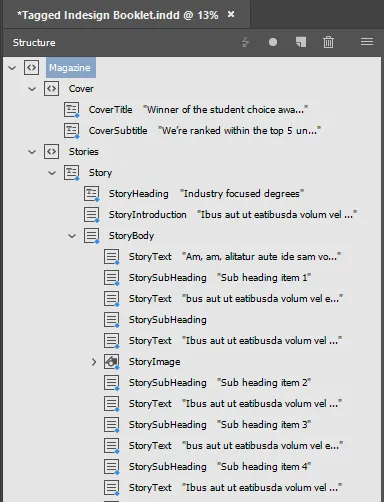
In our example, as we wanted to export multiple stories from our InDesign document, we created the following structure for our DTD:
This .dtd file describes how our InDesign document should be tagged. We’re tagging the whole document data as a Magazine. It will have a Cover with a CoverTitle and a CoverSubtitle. It will then have a set of Story items within Stories – each of which should have a StoryHeading, StoryIntroduction, and a StoryBody which contains our StorySubHeadings, StoryText, and optional StoryImage areas.
Note: You may notice that we’ve also added StoryImage and FeatureImage tagging in the .dtd file. We don’t use these in this example, but we will cover the import of these into Contensis in a separate blog post.
Step 2: Tag your Adobe InDesign content to match the DTD

The next step involves tagging elements of the magazine style document to match the structure of the DTD. In this example we’re looking to tag the multiple stories in the magazine along with their headings, introduction text, story text, and any story images.
If you’ve never looked into tagging an InDesign document before, we’d recommend reading the basics on the Adobe support pages for InDesign. Again, if you like you can use our example document on GitHub.
Create the following tags:
Open the Tags panel in InDesign (Window > Utilities > Tags) and create the following tags:
- Magazine
- Cover
- CoverTitle
- CoverSubtitle
- Stories
- Story
- StoryHeading
- StorySubheading
- StoryImage
- FeatureImage
In your InDesign document you can now select the cover title and cover subtitle and tag them appropriately.
Once you've done that, select each appropriate element of your first story – tag the StoryHeading, StoryIntroduction, StorySubheading(s) and StoryText.
Finish building the structure for the XML output
Our goal with the tagging structure is to match the DTD ( see Step 1), which looks like this:
- Magazine
- Cover
- CoverTitle
- CoverSubtitle
- Cover
- Stories
- Story
- StoryTitle
- StoryIntroduction
- StoryBody
- StorySubheading
- StoryText
- StoryImage
- Feature Image
- Src
- Caption
- Story
In InDesign you can view and manage your tag structure by opening the Structure pane (View > Structure > Show Structure). You can use this to build the final structure to match your DTD.
Step 3: Export your content from InDesign as XML
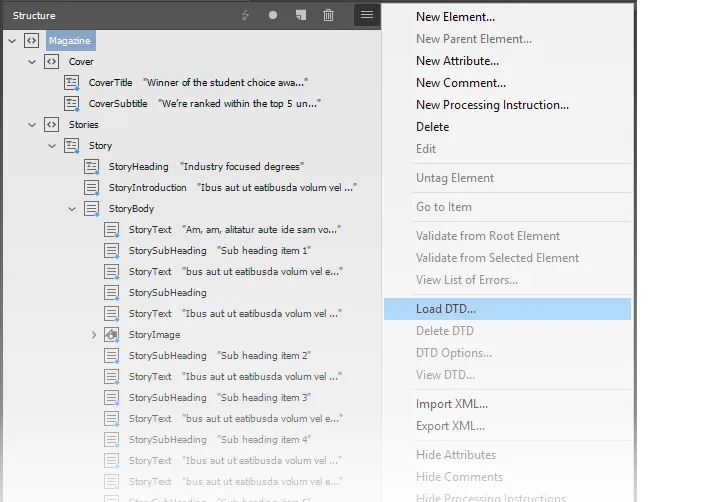
Now load your DTD into InDesign (go to Structure Panel > Menu > Load DTD) and validate your tag structure against the DTD.
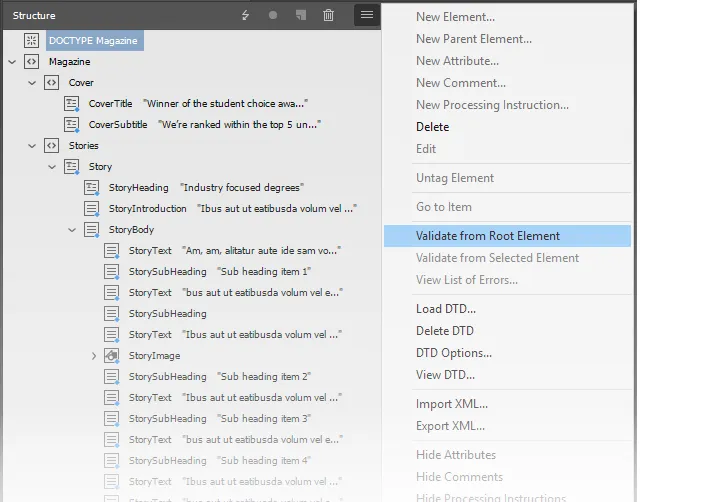
As long as there are no errors, you can now export the XML (Structure Panel > Menu > Export XML). If there are errors, make sure your tagging structure matches the .dtd file exactly.
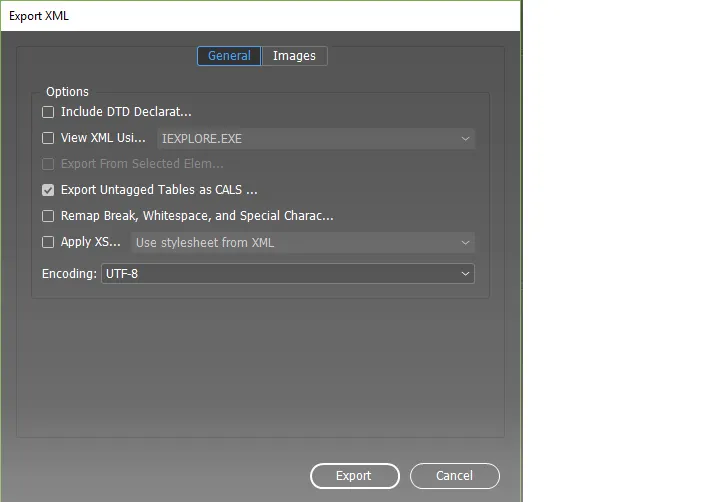
If you are following this example to export content into Contensis, uncheck the Include DTD Declaration box and finish the export.
Step 4: Create a new Contensis Content Type to match the XML file format
Now create a new content type in your Contensis instance and call it Story.
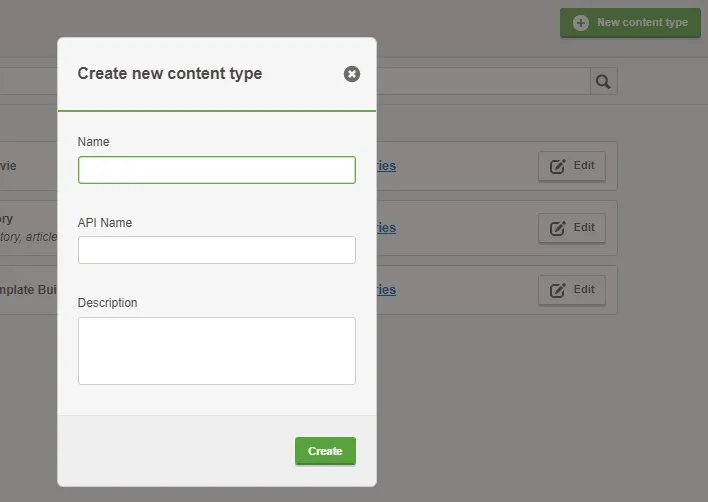
- Open up the Content Types window
- Create a new content type called Story
- Add a text field called Title
- Add a text field called Subtitle
- Add a composer field called StoryComposer
- Then add a markup field to this composer called StoryMarkup
- If you like you can also add an image field to this composer called FeatureImage, but we will be covering importing images in a future blog post.
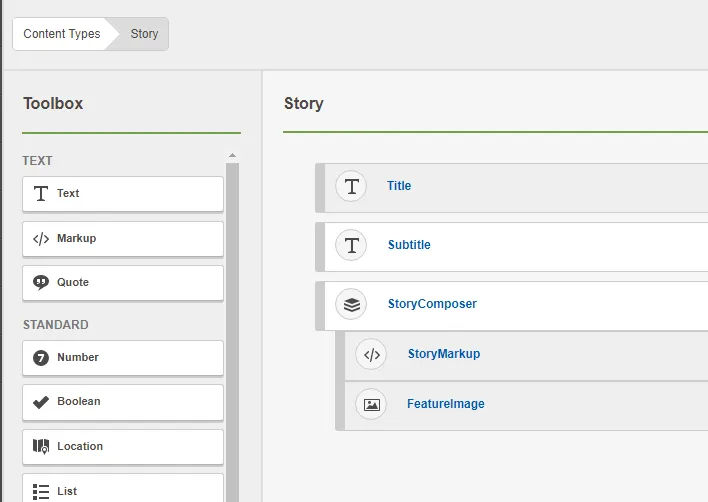
Most of this is pretty obvious. Hopefully you can see how the structure matches our XML. The content type builder in Contensis makes this part very simple to set up and adding a composer field will allow the story area to grow over time. If, for example, the InDesign story area is changed in the future – imagine you need to add tables, user quotes, or other data – then it will be much easier to update your content type to store this data.
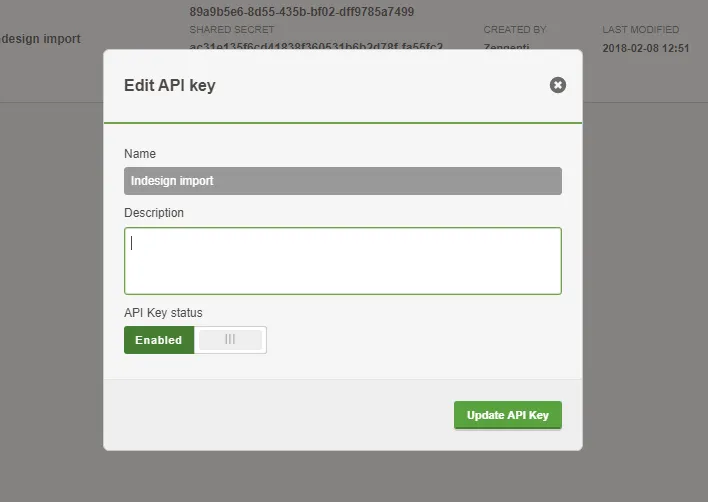
Step 5: Create an API key
In Contensis open the Content Types & Entries menu and select API Keys. Create a new API key.
Step 6: Use the Contensis Management API and write a simple script to create the entries
You can now open Visual Studio and run the project provided. You will need to install the dependencies.
Open the program.cs file and add your CMS URL. Then add the Client ID (line 28) and Shared Secret (line 29) from the API key you created earlier.
You also need to ensure the Contensis project name is set to match your project. Update line 32 to match your project name.
You will then need to ensure the XElement.Load is referencing your XML document. Update the path as required (line 35).
The XML file is loaded as an XElement. We can then iterate through its descendants and create a set of stories. We then iterate through the stories and call the CreateEntryFromXML function.
In the CreateEntryFromXML function, we are passing in the Contensis project name and the story. We create a new ‘Story’ entry, create the fields for the story, and add a new StoryMarkup field to the composer field (composers are initially empty).
We also clean the data slightly to create proper HTML headings and paragraphs.
7. Run the script locally
If you’ve followed the details above exactly (using our XML file and structure) you can now run the application in Visual Studio.
Within the Entries screen within Contensis you should see 3 new stories have now been created.
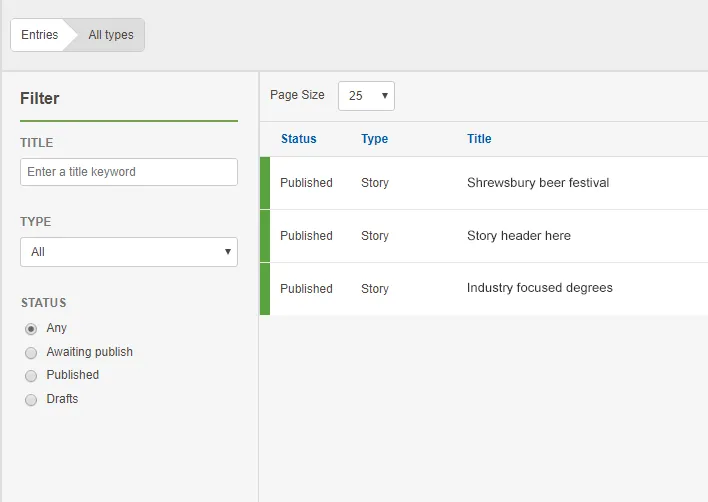
Editing one of the stories should provide you with the populated fields. Each of the stories should have a title, subtitle, and a story composer populated with the correct HTML headings and paragraphs.
Taking this further and next steps
Once you are happy with your content migration, next steps might include better tooling of this to aid your Adobe InDesign editors. You may, for example, want to monitor a folder on your local network for updates so that when an editor deploys their InDesign XML to this folder the entries will be automatically populated in Contensis.
Another option is to build a webpage based on this script to manage your InDesign imports.
In a future article, we will take a look at exporting the images from InDesign and bringing them into Contensis in a useful managed format.
If you’re exploring the Contensis Management API you should also read:
If your focus is on InDesign tagging, there are a few resources we found useful:
- This InDesign XML reference guide from Cari Jansen
- Pagination's guide to InDesign XML strategies

Insytful | Site improvement and accessibility platform(opens in a new window)
Try Insytful for freeRelated blog posts