Using Contensis with Vue.js
Log in to add to favouritesPage last updated 11 December 2024
This step-by-step guide will take you through getting your entries from Contensis and displaying them using the Delivery API and a simple Vue.js app.
✔️ Prerequisites
- Node.js
- npm, which should be installed automically when you install Node.js
- Git (optional)
- Basic command line interface knowledge
- A GitHub account (New to GitHub? Sign up here)
- Basic Vue knowledge
We'll start by setting up our demo project, which is a simple Vue.js blog application. This app will pull in data from our Leif demo project using Contensis.
Fork the Vue Leif example 🍴
- Log into your GitHub account. If you don't have an account, create one here.
- Go to https://github.com/contensis/vue-leif-example and press the Fork button to create your own fork of the repo.
Cloning the repository 🤝
Now we have our own fork of the repository, we need to clone it to create a copy of the fork on our local machine. There are two ways to do this – using SSH or HTTPS. If you have already set up SSH keys for your GitHub account, then it's easier to use SSH. If you haven't set up SSH keys, you can use HTTPS instead.
Clone the repository using SSH
- First, open up a terminal and
cdinto your local development folder. - Now clone the repository using SSH with the following command:
git clone git@github.com:{your-username}/vue-leif-example.git- Then navigate to the project directory:
cd vue-leif-example- Finally, install the project dependencies using npm. Run this command to install all the required packages listed in the package.json file:
npm installClone the repository using HTTPS
If you haven't set up SSH keys for your GitHub account, you can use HTTPS instead of SSH to clone repositories. Use the following steps to configure Git to use HTTPS.
- Depending on your operating system, open Terminal (on macOS and Linux) or Command Prompt (on Windows).
- Enter the following commands to configure Git with your GitHub credentials:
git config --global user.name "Your GitHub Username"
git config --global user.email "your.email@example.com"- Now enter the following command to clone the repository using HTTPS:
git clone https://github.com/{your-username}/vue-leif-example.git- Then navigate to the project directory:
cd vue-leif-example- Finally, install the project dependencies using npm. Run this command to install all the required packages listed in the package.json file:
npm installRunning the Application 🥳
Now we've installed the project and its dependencies, we can run the Leif Vue.js app locally on our machine. To run your project locally, enter the following command in your terminal:
npm run serveThis will start the server. You can then access the application by visiting http://localhost:8080 in your web browser.
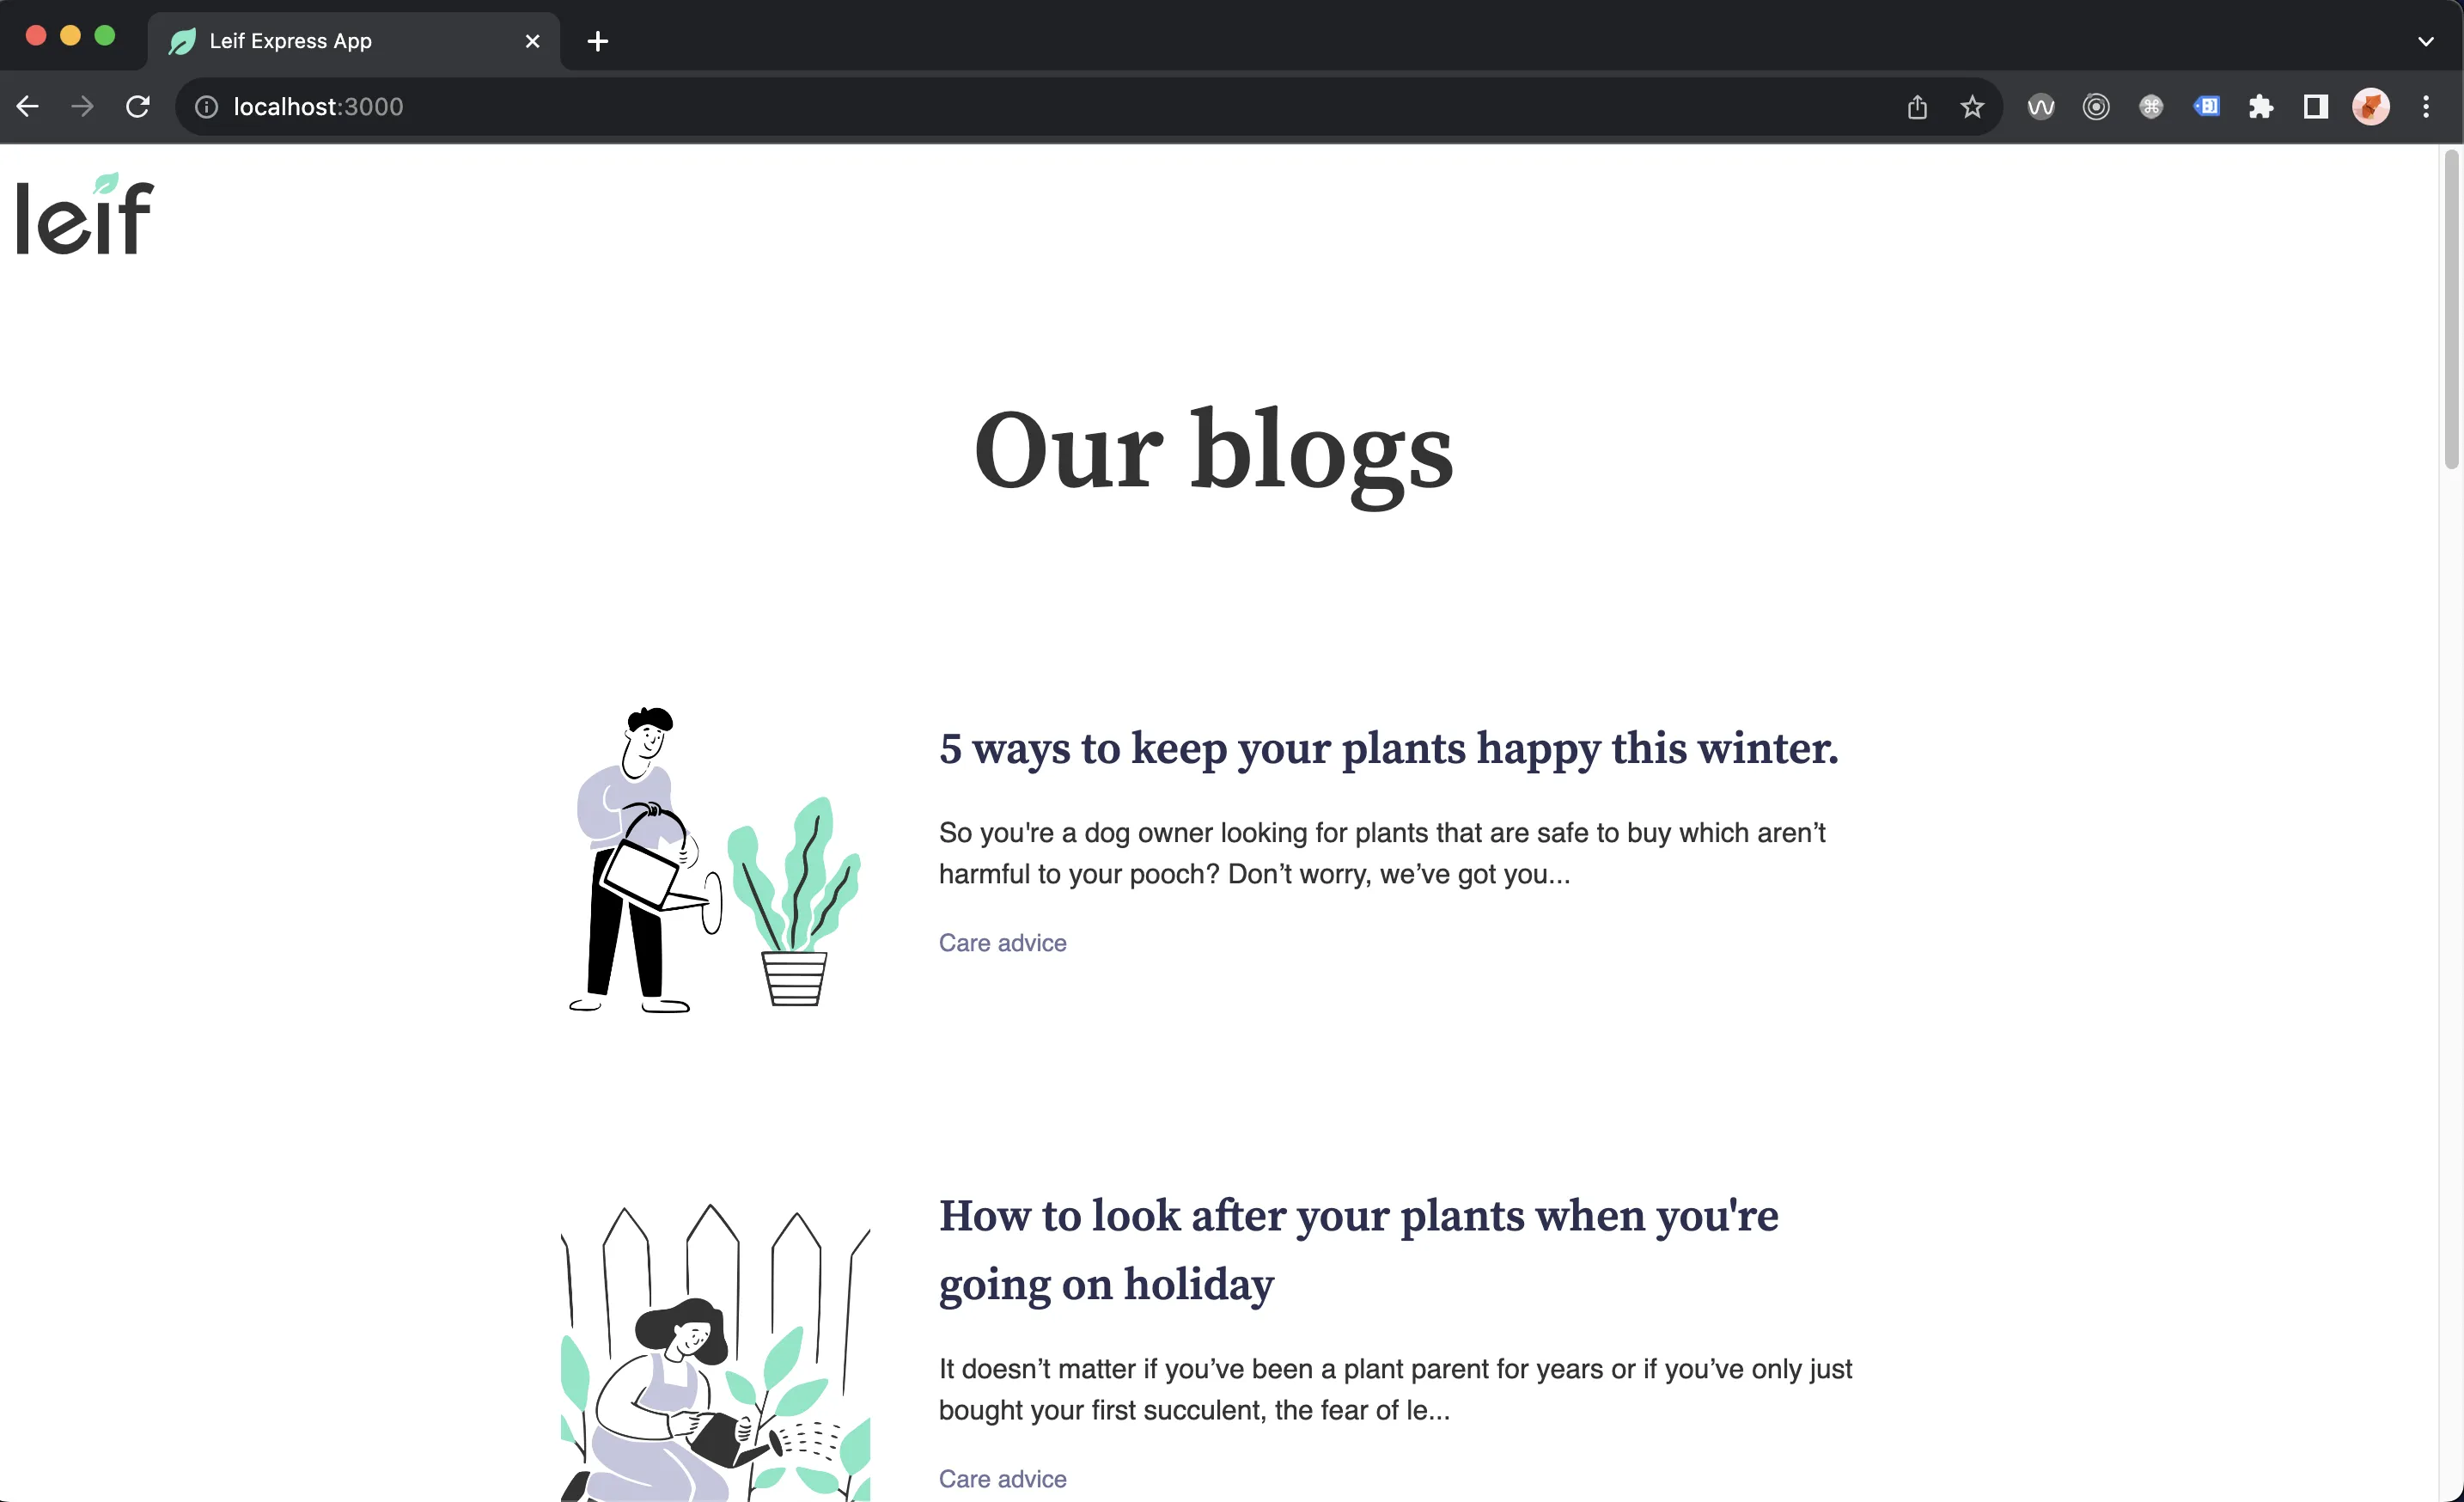
The application should look something like this:
Using your own content 📚
At the moment the application is using data from our public demo environment. To start using your own data, you'll need to connect your own Contensis environment. Follow these steps to connect a free trial environment:
- Create an account with Contensis or log in.
- Navigate to your account dashboard and launch your free trial environment. (If you don't have a free trial, you can request one here).
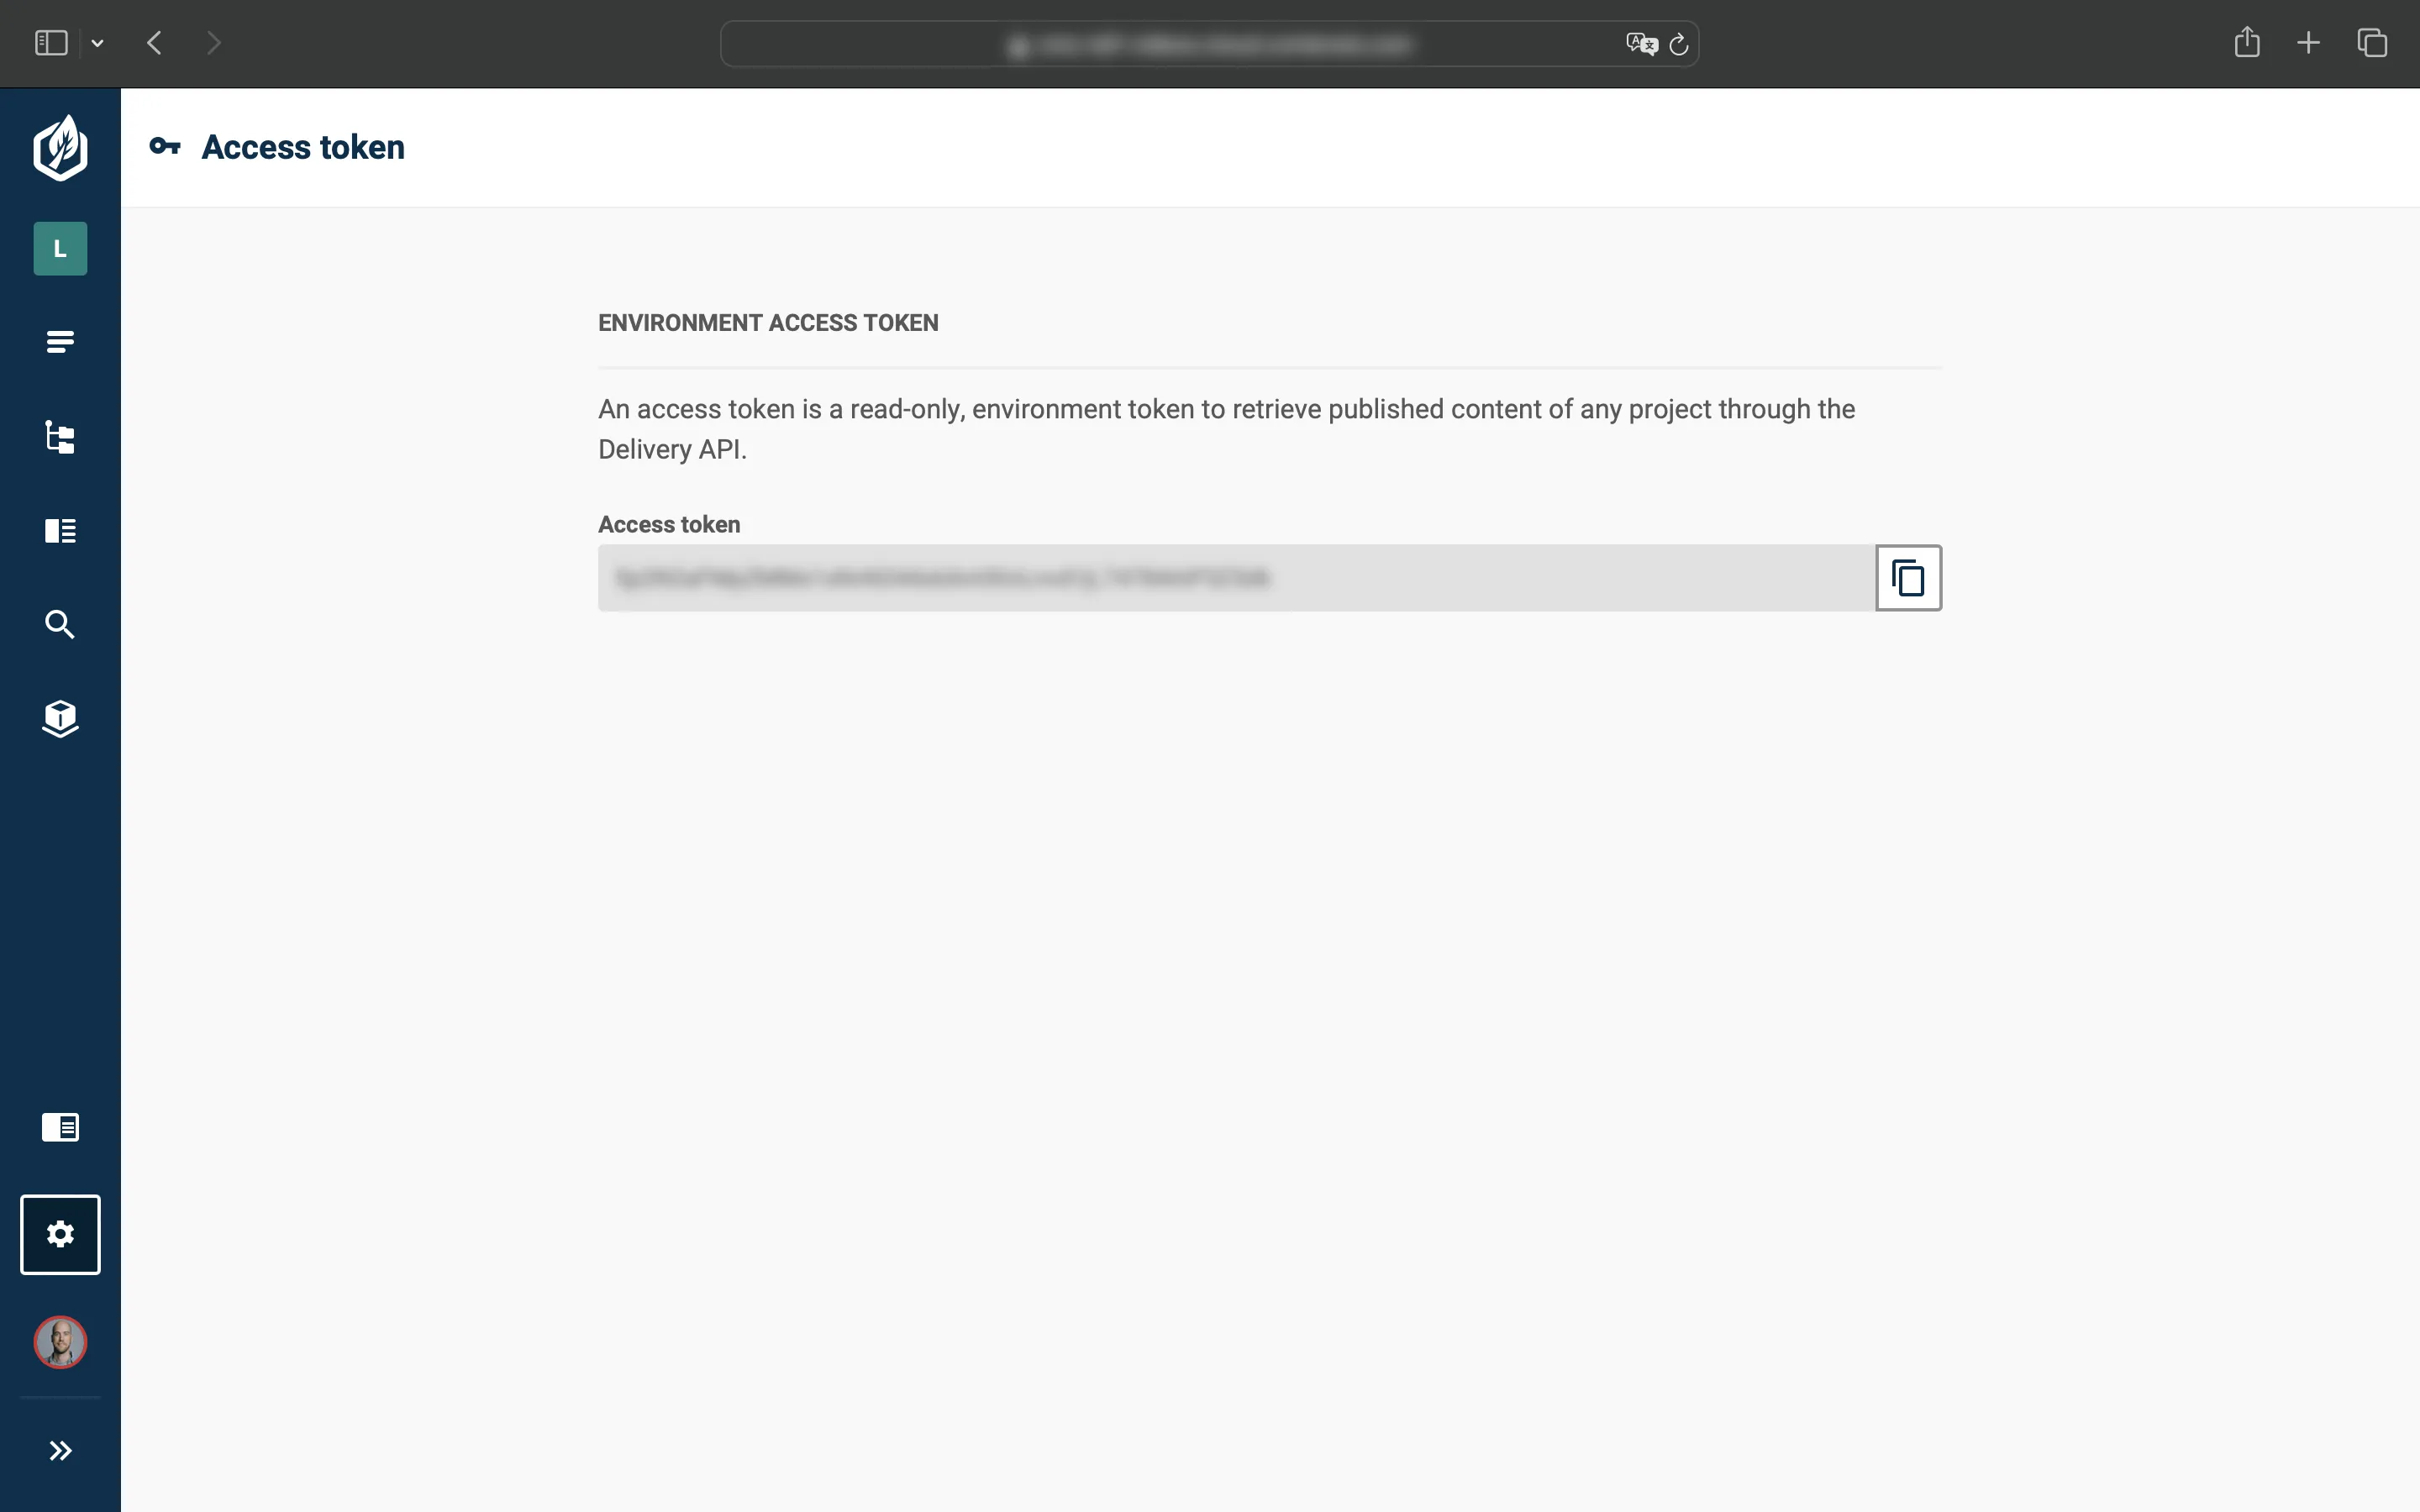
- The first thing we need to do is update the
VUE_APP_ACCESS_TOKENin the.envfile. Go to Settings > Access token in your Contensis project to open the Environment Access Token screen. Copy your access token. - Open the
.envfile in your IDE again and replace theVUE_APP_ACCESS_TOKENwith the access token from your Contensis environment.
- You now need to replace the
VUE_APP_PROJECT_API_IDin the.envfile with the API ID from your own project. In your Contensis project, go to Settings > General and copy the API Name field.
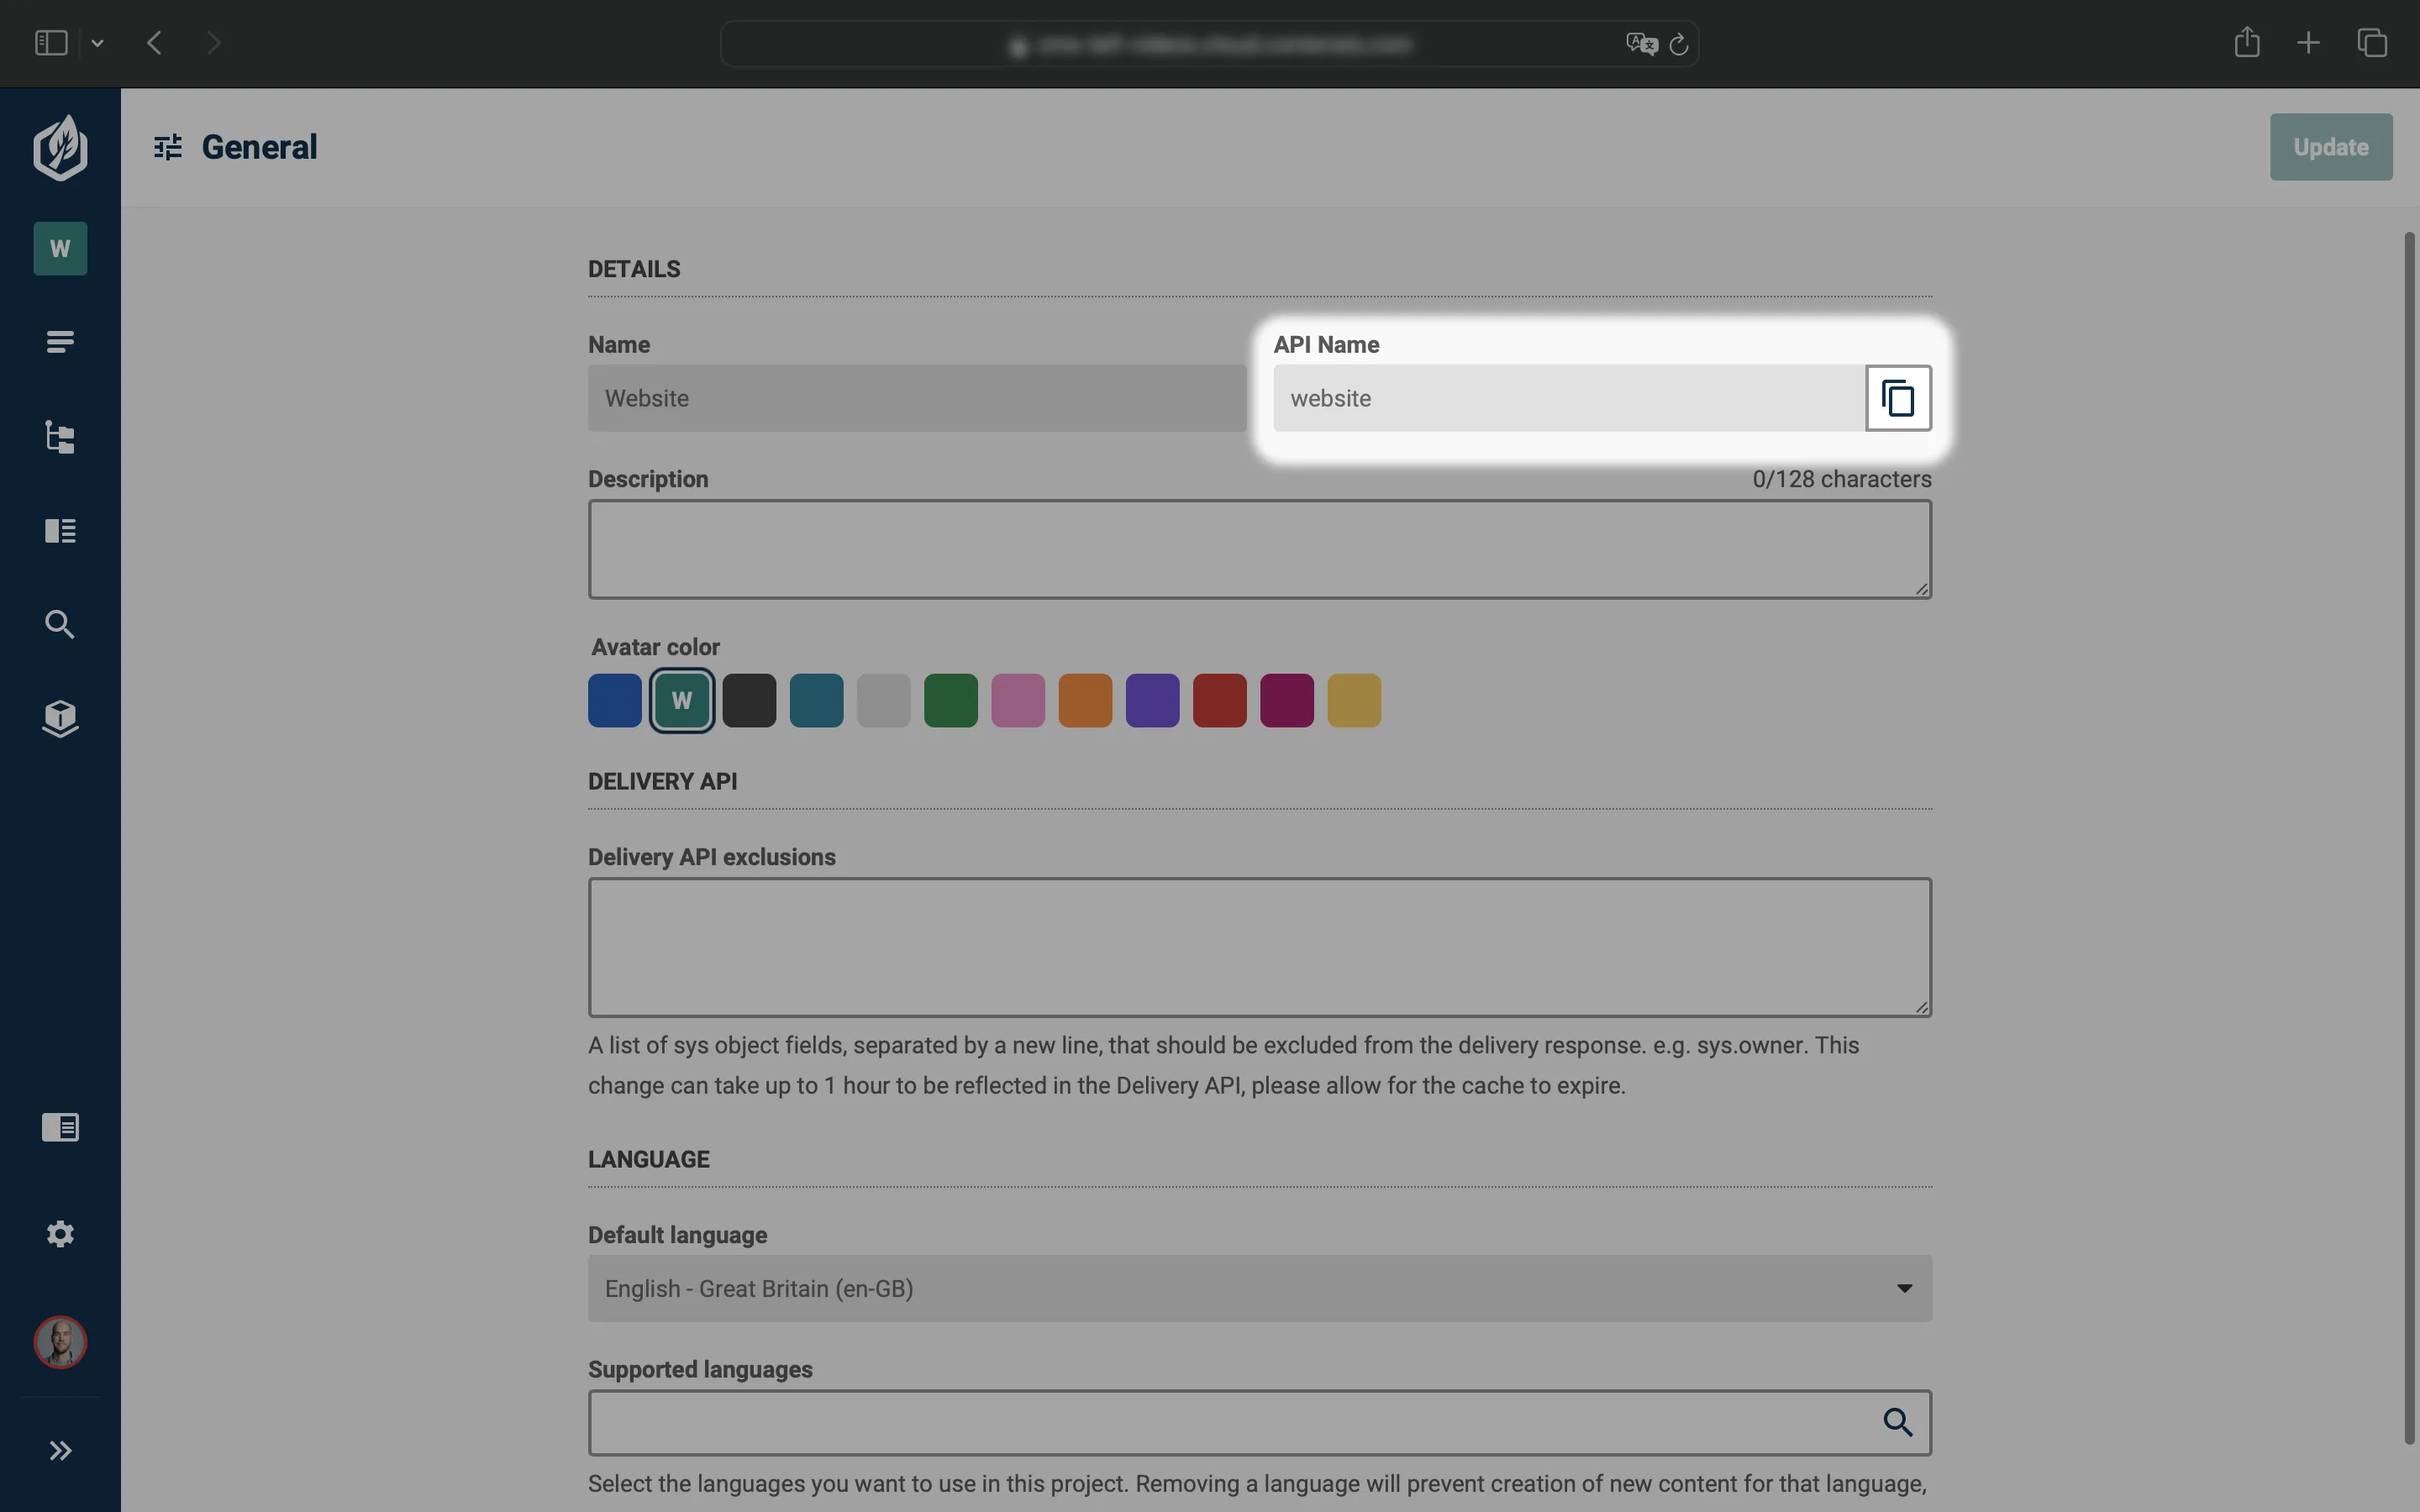
- Open the
.envfile in your IDE again and replace theVUE_APP_PROJECT_API_IDwith the API ID from your Contensis project. - Finally, determine your
VUE_APP_ALIASby examining your CMS URL, for instance, cms-leif.cloud.contensis.com. Extract the part that follows cms-. In this example, theREACT_APP_ALIASwould be 'leif'.
That's it, you're all set up! 👏